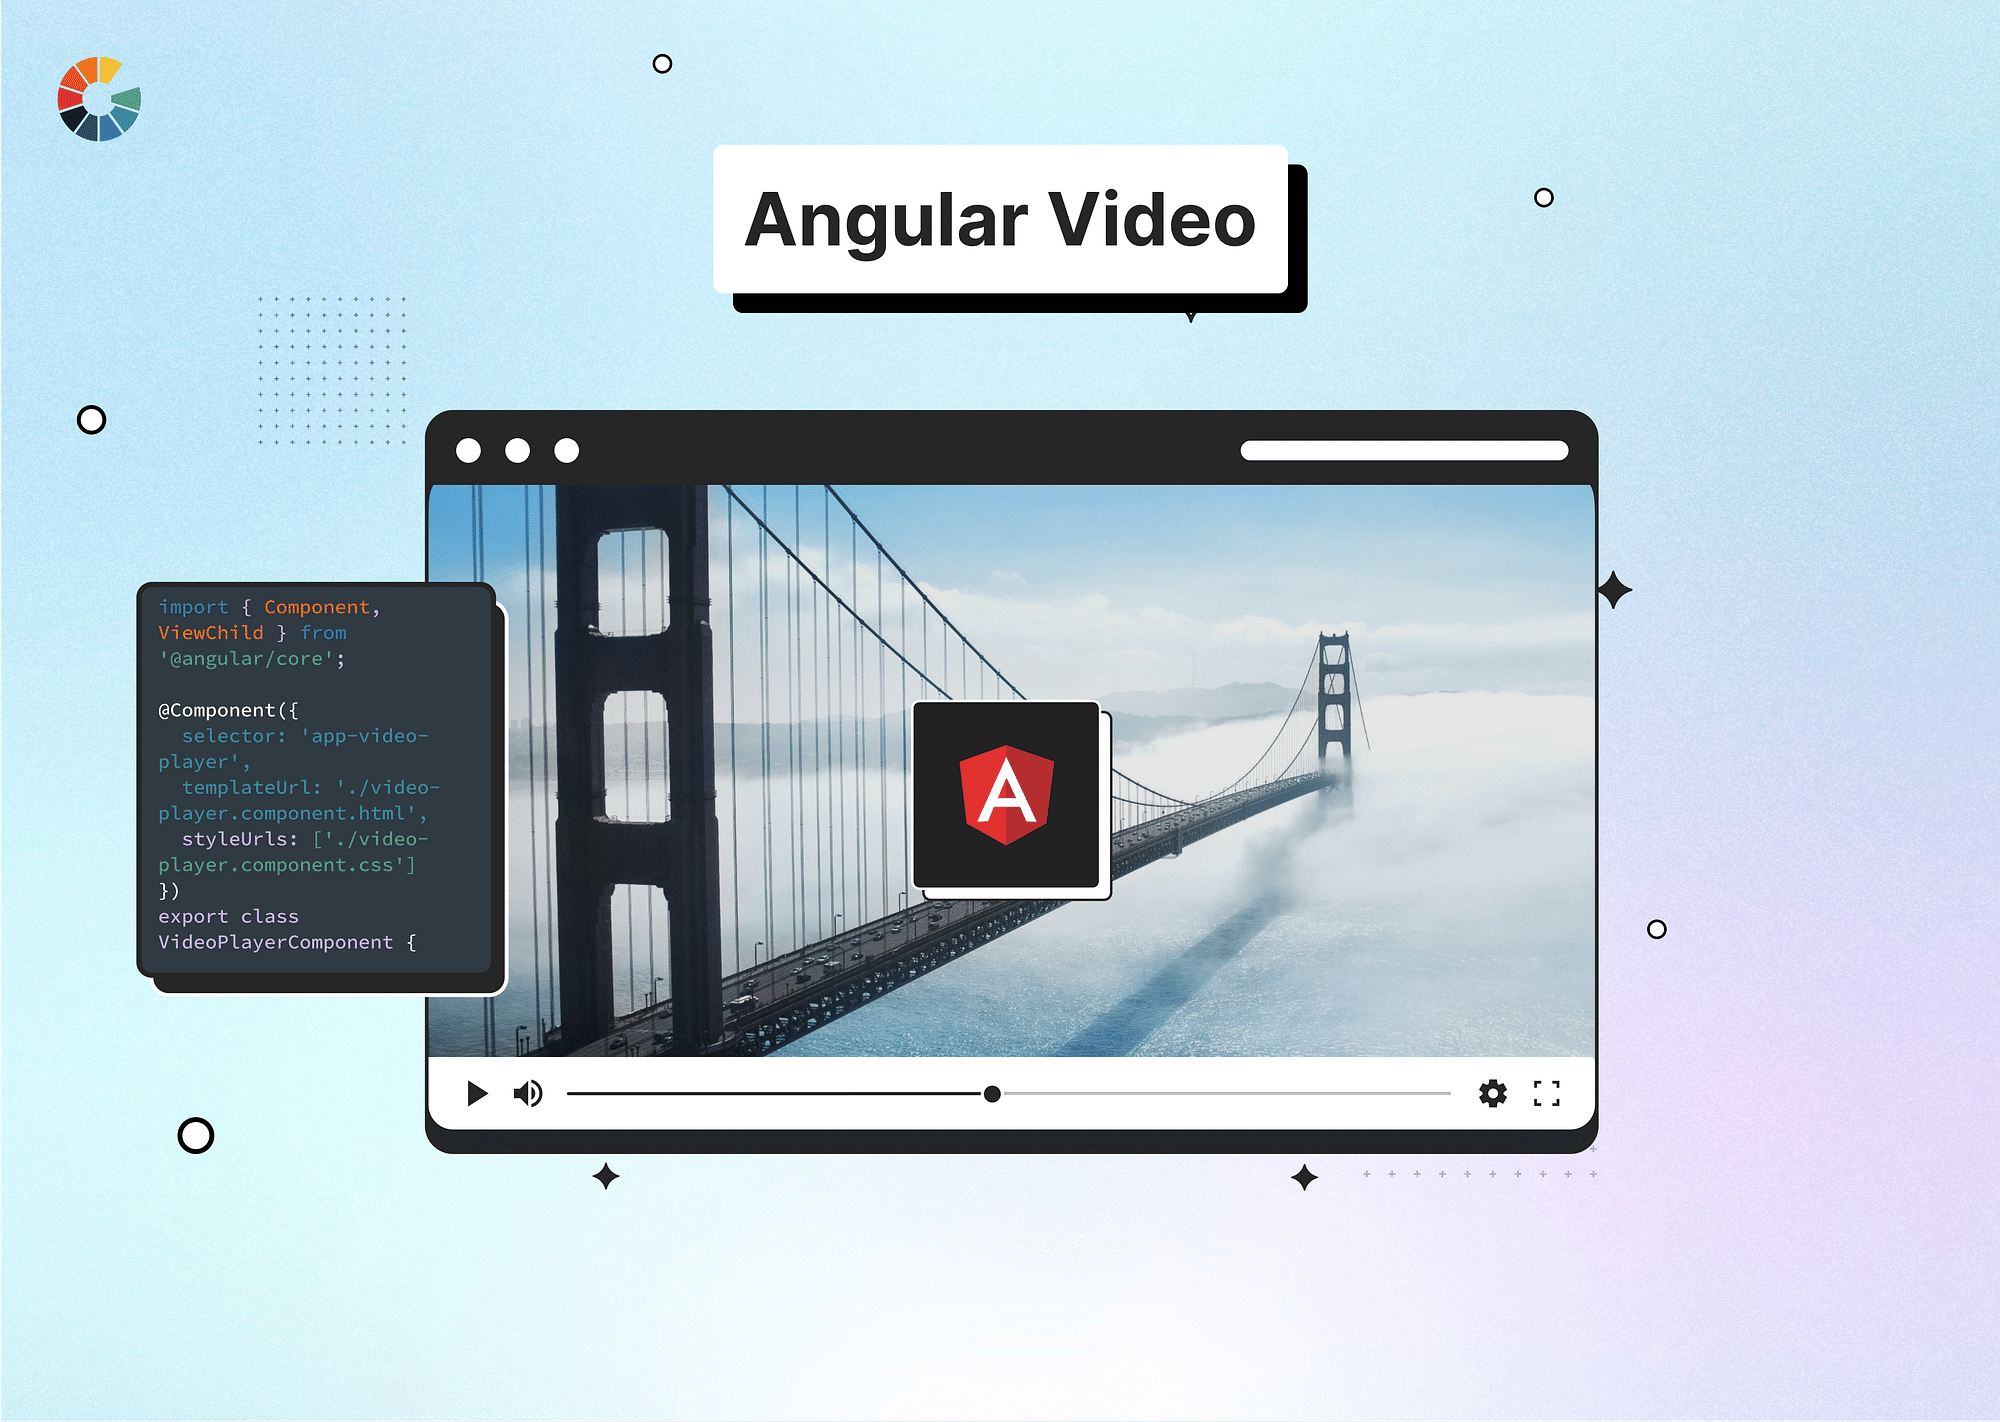
Angular has emerged as a go-to framework for developing high-quality video players thanks to its powerful features and vast ecosystem. Developers often leverage libraries like Angular Material or ngx-videogular to seamlessly integrate video playback functionalities into Angular applications. This article explores the step-by-step process for implementing an Angular Video Player.
When you're adding a video player to your Angular app, you've got a couple of options to choose from. Let's begin with that:
What are the methods for playing videos on Angular?
To implement an Angular Video Player, you can either go with the simple HTML5 approach, where you work directly with <video> tags in your templates. Or, you can use a library like Ngx-Videogular, which gives you ready-to-use components for video playback.
If you choose the HTML5 route, you'll handle everything yourself, from installing dependencies to writing code to control the player's behavior. On the other hand, with Ngx-Videogular, you just need to install the library, import the necessary modules, and then drop their pre-built components into your app. Let's dive deep into each of these methods and understand which one would be better for you.
Using HTML5 Video Element
You can opt for the HTML5 method for playing videos in Angular because it is relatively simple and native to do so. Not to mention, it's supported by all modern browsers, so you get compatibility across a wide range of devices. As opposed to third-party libraries, there are dependencies either, making it a lightweight solution.
To play videos using HTML5, you need to use the `<video>` element to add the video player. For instance,
  <video width="640" height="360" controls>
     <source src="path/to/your/video.mp4" type="video/mp4">
     Your browser does not support the video tag.
   </video>
Beyond that, you have the option to customize with attributes like width, height, playback controls (play, pause, volume, etc.), apply CSS styles, and more. But make sure your video files are in supported formats like MP4, WebM, or Ogg.
Remember, the HTML5 method is not suitable if you require advanced features or extensive customization. It has limited styling options, and any complex functionality you need–be it video streaming optimization or analytics—will require development effort on your end.
Third-Party Angular Video Player Libraries
The second method involves using third-party Angular video player libraries, such as Ngx-Videogular or Angular Material. Ngx-Videogular is a potent media framework that integrates well with HTML5 video players for Angular applications. These libraries offer ready-to-use components and features for integrating video players into your app. You might choose to use these libraries because they give you advanced features and customization options right out of the box. You can add specific tags and attributes to your HTML code to create a custom video player using Ngx-Videogular.
You can also use Gumlet to ensure seamless video playback and access to all essential features. Gumlet offers optimized video delivery by adjusting quality based on your viewers' devices and network conditions. Now, let's look into each step of implementing an Angular Video Player.
How to Implement a Video Player in Angular?
Choosing a Video Player Library
There are several libraries available for video playback in Angular, like Video.js, ngx-videogular, and Plyr:
- Video.js: The Video.js library offers extensive customization options and robust browser compatibility. However, it typically requires additional configuration and lacks built-in Angular support.
- ngx-videogular: ngx-videogular is a potent media framework that integrates well with HTML5 video players for Angular applications. ngx-videogular provides Angular-specific components and seamless integration with Angular applications. It offers features like responsive design and plugin support. However, it has a steeper learning curve for beginners.
- Plyr: Plyr: Plyr is another lightweight and easy-to-use library with a focus on simplicity and accessibility.
Installing and Configuring the Video Player Library
Here's a detailed guide on how to install and configure a chosen video player library, specifically using ngx-videogular as an example:
Step 1: Start by installing ngx-videogular and its dependencies using npm:
npm install ngx-videogular @angular/core @angular/commonStep 2: In your Angular module (e.g., AppModule), import the VideogularModule:
import { NgModule } from '@angular/core';
import { BrowserModule } from '@angular/platform-browser';
import { AppComponent } from './app.component';
import { VideogularModule } from 'ngx-videogular';
@NgModule({
  declarations: [AppComponent],
  imports: [BrowserModule, VideogularModule],
  bootstrap: [AppComponent]
})
export class AppModule { }
Step 3: Customize the video player's appearance and behavior by adding or modifying components within the <vg-player> tag.
Step 4: Depending on the features you want to use, you may need to import additional modules. For example, to use subtitles, import the VgCoreModule and VgOverlayPlayModule:
import { VgCoreModule } from 'ngx-videogular/core';
import { VgOverlayPlayModule } from 'ngx-videogular/overlay-play';

@NgModule({
  imports: [
    BrowserModule,
    VideogularModule,
    VgCoreModule,
    VgOverlayPlayModule
  ],
  // Other module configurations
})
export class AppModule { }
Once testing is complete, you can go ahead and deploy your Angular application to your desired hosting environment.
Integrating the Video Player into an Angular Component
Within your component's HTML template, you need to add the video player element along with any desired controls and options. Here's an example using ngx-videogular:
<vg-player>
  <video #media [vgMedia]="media" preload="auto" controls>
    <source src="path/to/video.mp4" type="video/mp4">
  </video>
</vg-player>
Thereafter, customize the video playback options as needed. This may include specifying the video file source, enabling/disabling controls, setting autoplay, etc. You may also adjust the attributes and properties of the video player element appropriately.
Customizing the Video Player
The next step is to customize the player's appearance by tweaking attributes (e.g. colors, fonts, and layout); you can use CSS to do this. If you want, you can also apply pre-built themes to give it a distinct look that matches your website.
Beyond this, add other custom features you require (like playlists, looping, or autoplay) to make your player more interactive and engaging. You can enable these features either using the player's settings or by writing code in your Angular component.
Here's an example using ngx-videogular in Angular:
<vg-player>
  <vg-overlay-play></vg-overlay-play>
  <vg-playlist *ngIf="showPlaylist" [videos]="playlist" (onPlayerReady)="onPlayerReady($event)"></vg-playlist>
  <video [vgMedia]="media" #media id="singleVideo" preload="auto" crossorigin>
    <source src="https://www.example.com/video.mp4" type="video/mp4">
  </video>
</vg-player>
Handling Events and Controls
In the component file (here, app.component.ts), you can create custom controls using Angular's event binding and methods.
<vg-controls>
  <vg-play-pause></vg-play-pause>
  <vg-time-display vgProperty="current" vgFormat="mm:ss"></vg-time-display>
  <vg-scrub-bar>
    <vg-scrub-bar-current-time></vg-scrub-bar-current-time>
    <vg-scrub-bar-buffering-time></vg-scrub-bar-buffering-time>
  </vg-scrub-bar>
  <vg-time-display vgProperty="total" vgFormat="mm:ss"></vg-time-display>
  <vg-volume>
    <vg-mute></vg-mute>
    <vg-volume-bar></vg-volume-bar>
  </vg-volume>
  <vg-fullscreen></vg-fullscreen>
</vg-controls>
You can also handle video events such as onPlay, onPause, and onEnd using event bindings in Angular. Here's how:
<vg-player (onPlayerReady)="onPlayerReady($event)" (onPlay)="onPlay()" (onPause)="onPause()" (onEnd)="onEnd()">
  <video #media [vgMedia]="media" preload="auto">
    <source src="https://www.example.com/video.mp4" type="video/mp4">
  </video>
</vg-player>
Testing and Optimization
When testing your video player across devices and browsers, you should ensure it works smoothly for all users.
- Use browser developer tools like BrowserStack or LambdaTest, Chrome DevTools or Firefox Developer Edition. They allow you to simulate different devices, sizes, browsers, and network conditions—so you can identify any responsiveness or performance issues.
- Test the same file on a mobile device using a browser or the YouTube app.
- Check how the video pause and replay options are affected during an interruption like a call or SMS on mobile.
- See how the video playback is affected by different networks like WiFi, mobile data, etc.
For optimizing video playback performance,
- You first need to make sure you have chosen the right video format and codec (MP4 with H.264)
- Modify key video encoding settings such as bitrate, file size, resolution, lazy-loading, etc. You can use tools like Lighthouse to test and find out about performance bottlenecks, if any.
How do you play YouTube videos in Angular?
Here's how you can play YouTube videos in Angular:
Step 1: Install the @angular/youtube-player package
Start by installing the @angular/youtube-player package in your Angular application using the npm install command:
npm install @angular/youtube-playerStep 2: Incorporate the YouTubePlayerModule into the Target Module
To utilize the YouTube player component, you need to import the YouTubePlayerModule from '@angular/youtube-player.' Then, it needs to be added to the imports array in your AppModule. Here's how you can do it:
import { NgModule } from '@angular/core';
import { BrowserModule } from '@angular/platform-browser';
import { FormsModule } from '@angular/forms';
import { YouTubePlayerModule } from '@angular/youtube-player';

import { AppComponent } from './app.component';
import { HelloComponent } from './hello.component';

@NgModule({
  imports: [BrowserModule, FormsModule, YouTubePlayerModule],
  declarations: [AppComponent, HelloComponent],
  bootstrap: [AppComponent],
})
export class AppModule {}
Alternatively, you can add the YouTubePlayerModule to your own video component module. Here's an example:
import { NgModule } from '@angular/core';
import { YouTubePlayerModule } from '@angular/youtube-player';
import { VideoComponent } from './video.component';
@NgModule({
  imports: [YouTubePlayerModule],
  declarations: [VideoComponent],
  exports: [VideoComponent]
})
export class VideoModule {}
This lets you use the YouTube player component in your Angular application.
Step 3: Load the YouTube iframe API Script
To use the YouTube player component, you must first load the YouTube iframe API script. There are two methods to accomplish this:
- Directly add the script in the index.html file:
<script src="https://www.youtube.com/iframe_api"></script>- Load the IFrame Player API script asynchronously in your component.ts file:
export class AppComponent {
  apiLoaded = false;
  ngOnInit() {
    if (!this.apiLoaded) {
      const tag = document.createElement('script');
      tag.src = 'https://www.youtube.com/iframe_api';
      document.body.appendChild(tag);
      this.apiLoaded = true;
    }
  }
}
This approach, recommended by the YouTube iframe API reference, ensures proper loading of the API script before using the YouTube player component.
Step 4: Get the video ID of YouTube
Every YouTube video has a unique ID, which is part of the video URL. Extract the video ID from the URL.
Step 5: Render the video using the <youtube-player> tag
Use the <youtube-player> tag and pass the video ID to the videoId @input:
<youtube-player videoId="QIZ9aZD6vs0"> </youtube-player>You can also bind a variable to [videoId] input to dynamically change the video being played.
That's it! Your YouTube video will be loaded automatically.
Angular Video Player: Common Issues and Troubleshooting
Some common Angular video player issues you may encounter include:
- There could be errors during the build process, such as the npm start command quitting abruptly. Tools like ndb by Google can help diagnose this.
- Deployment issues occur when the application works locally but breaks once deployed. These can be challenging due to minified code. We recommend consulting resources like AngularInDepth.
- Debugging difficulties with TypeScript code, especially when the IDE fails to provide adequate support. You can enable strict mode to counter this.
- Other architecture Issues which require adopting Domain-Driven Design principles
- To address typing issues, ensure all necessary TypeScript typings are installed.
You might try leveraging Gumlet to optimize video delivery and playback performance—this would potentially mitigate any performance-related issues.
Conclusion
Angular offers a top-notch framework for developers to build video players with custom abilities as video creators strive to cater to the rising demand for engaging video content experiences. With its powerful features and extensive ecosystem, an Angular Video Player empowers you to seamlessly integrate video playback functionalities into your applications. Whether you choose Angular Material or ngx-videogular, these libraries are designed to streamline development with their pre-built components and features.
FAQs
Which command is used to install the YouTube component in angular?
To install the YouTube component in Angular, you use the command npm install @angular/youtube-player.
How to set video as Angular background?
To set a video as the background in Angular, you can use CSS properties like background-image or JavaScript to dynamically change the background.
Which video player library is best for Angular applications?
The best video player library for Angular applications depends on your specific needs, but popular choices include ngx-videogular and Angular Material.
Does Netflix use Angular?
Netflix has used both Angular and React in its web development. Initially, they used Angular to build the streaming website. However, they eventually switched to React for front-end development. React's component-based architecture, virtual DOM, flexibility and strong developer community offer better performance and scalability, making it a more suitable choice for Netflix's needs.


