Best OBS Recording Settings
OBS provides a suite of options to customize recordings to fit every requirement, but navigating these settings can be daunting for newcomers. Below, we break down the most important settings you need to be aware of to get the best quality out of your OBS recordings.
Output Settings
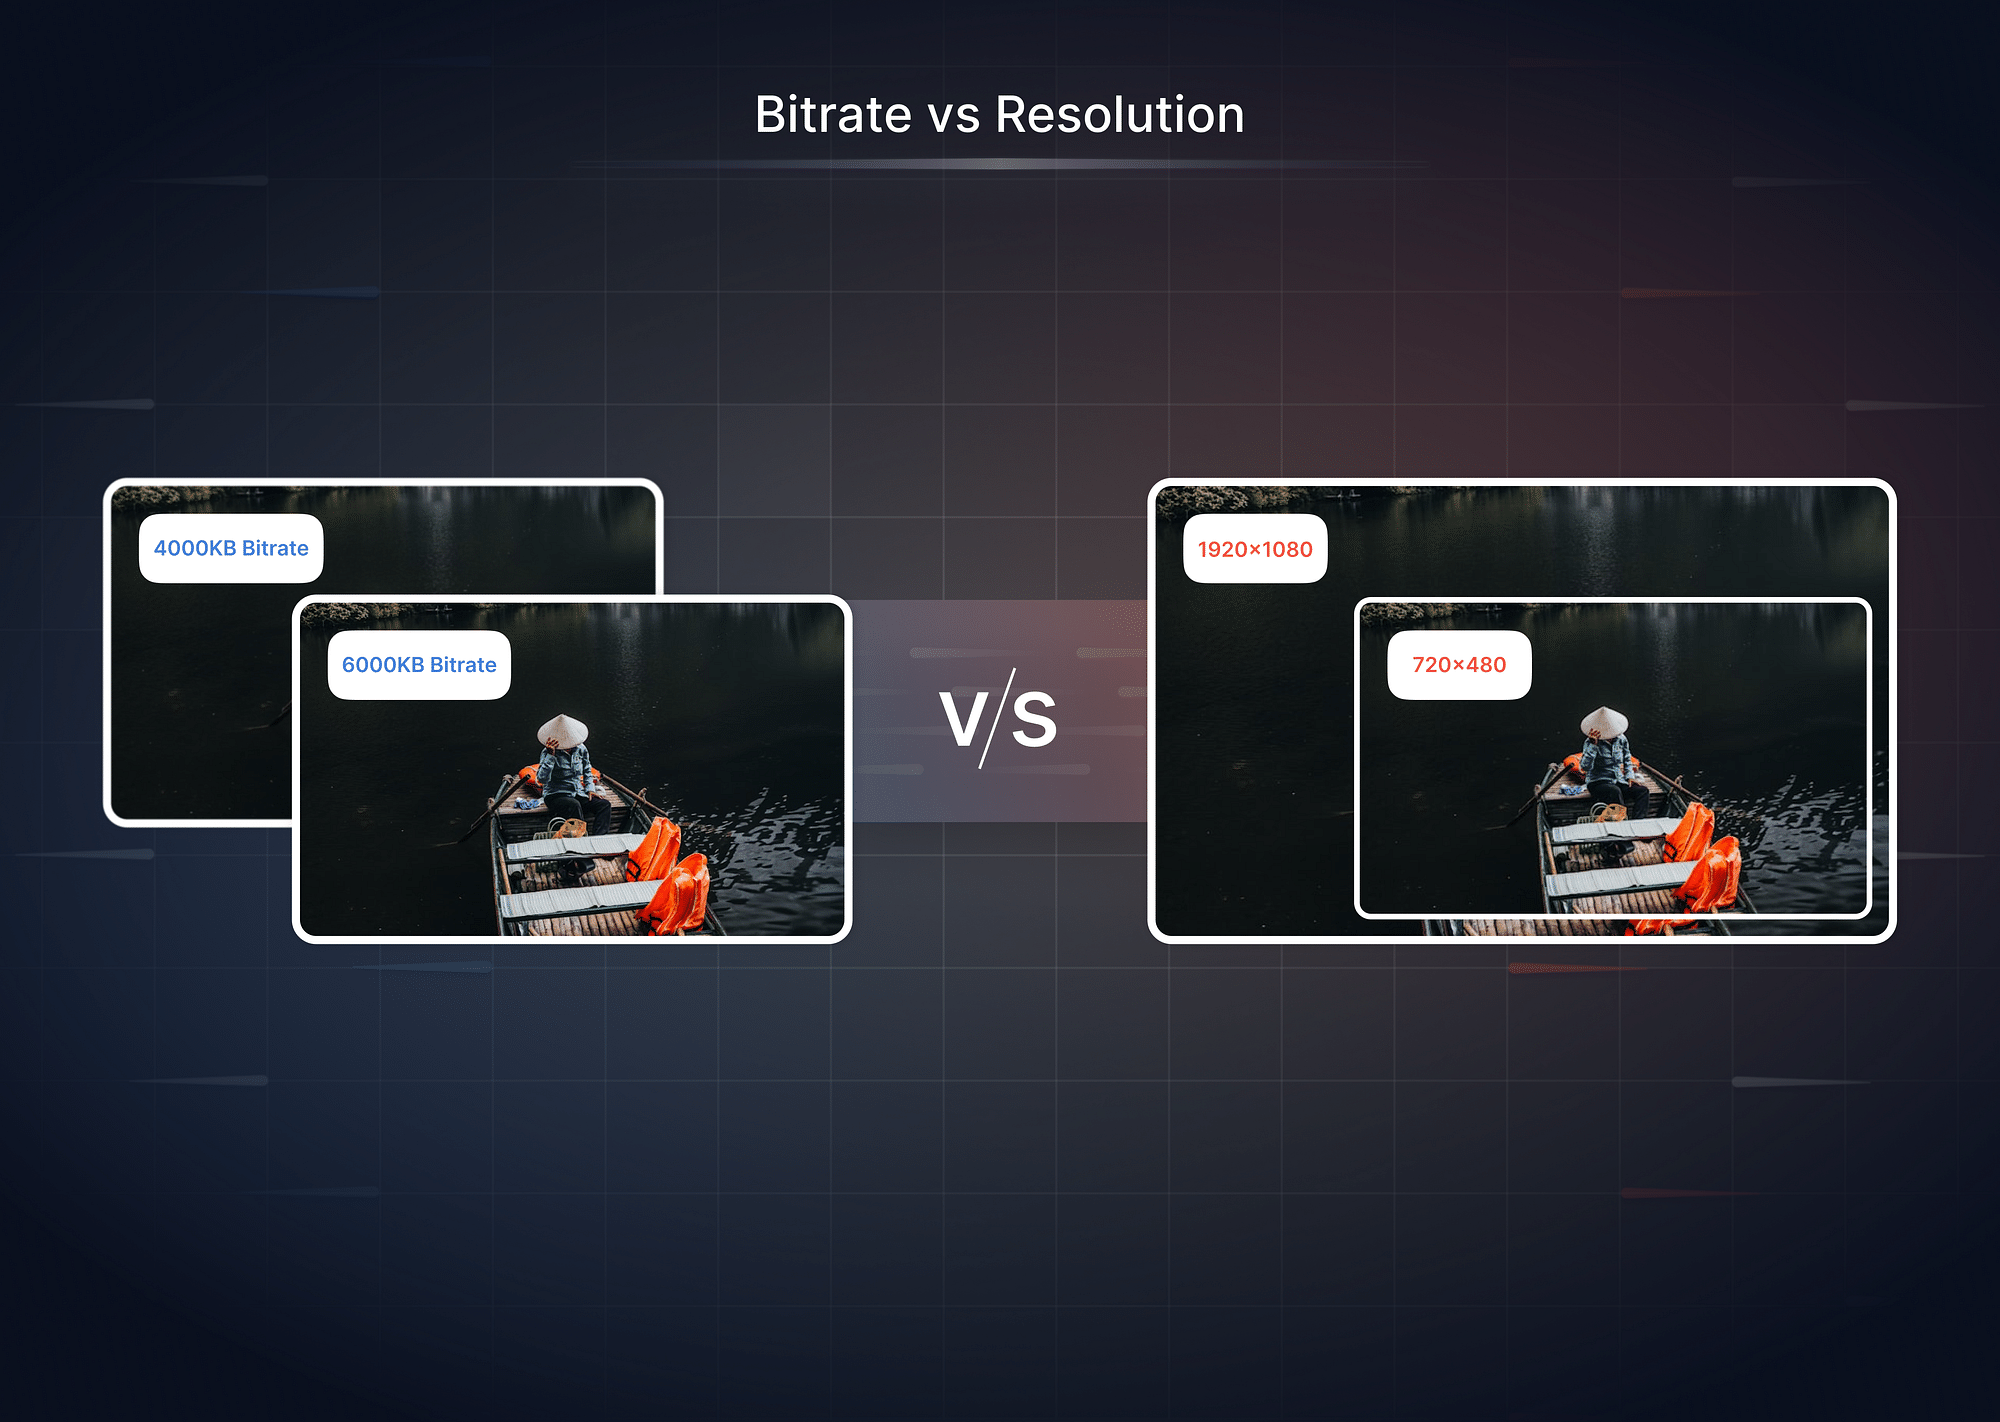
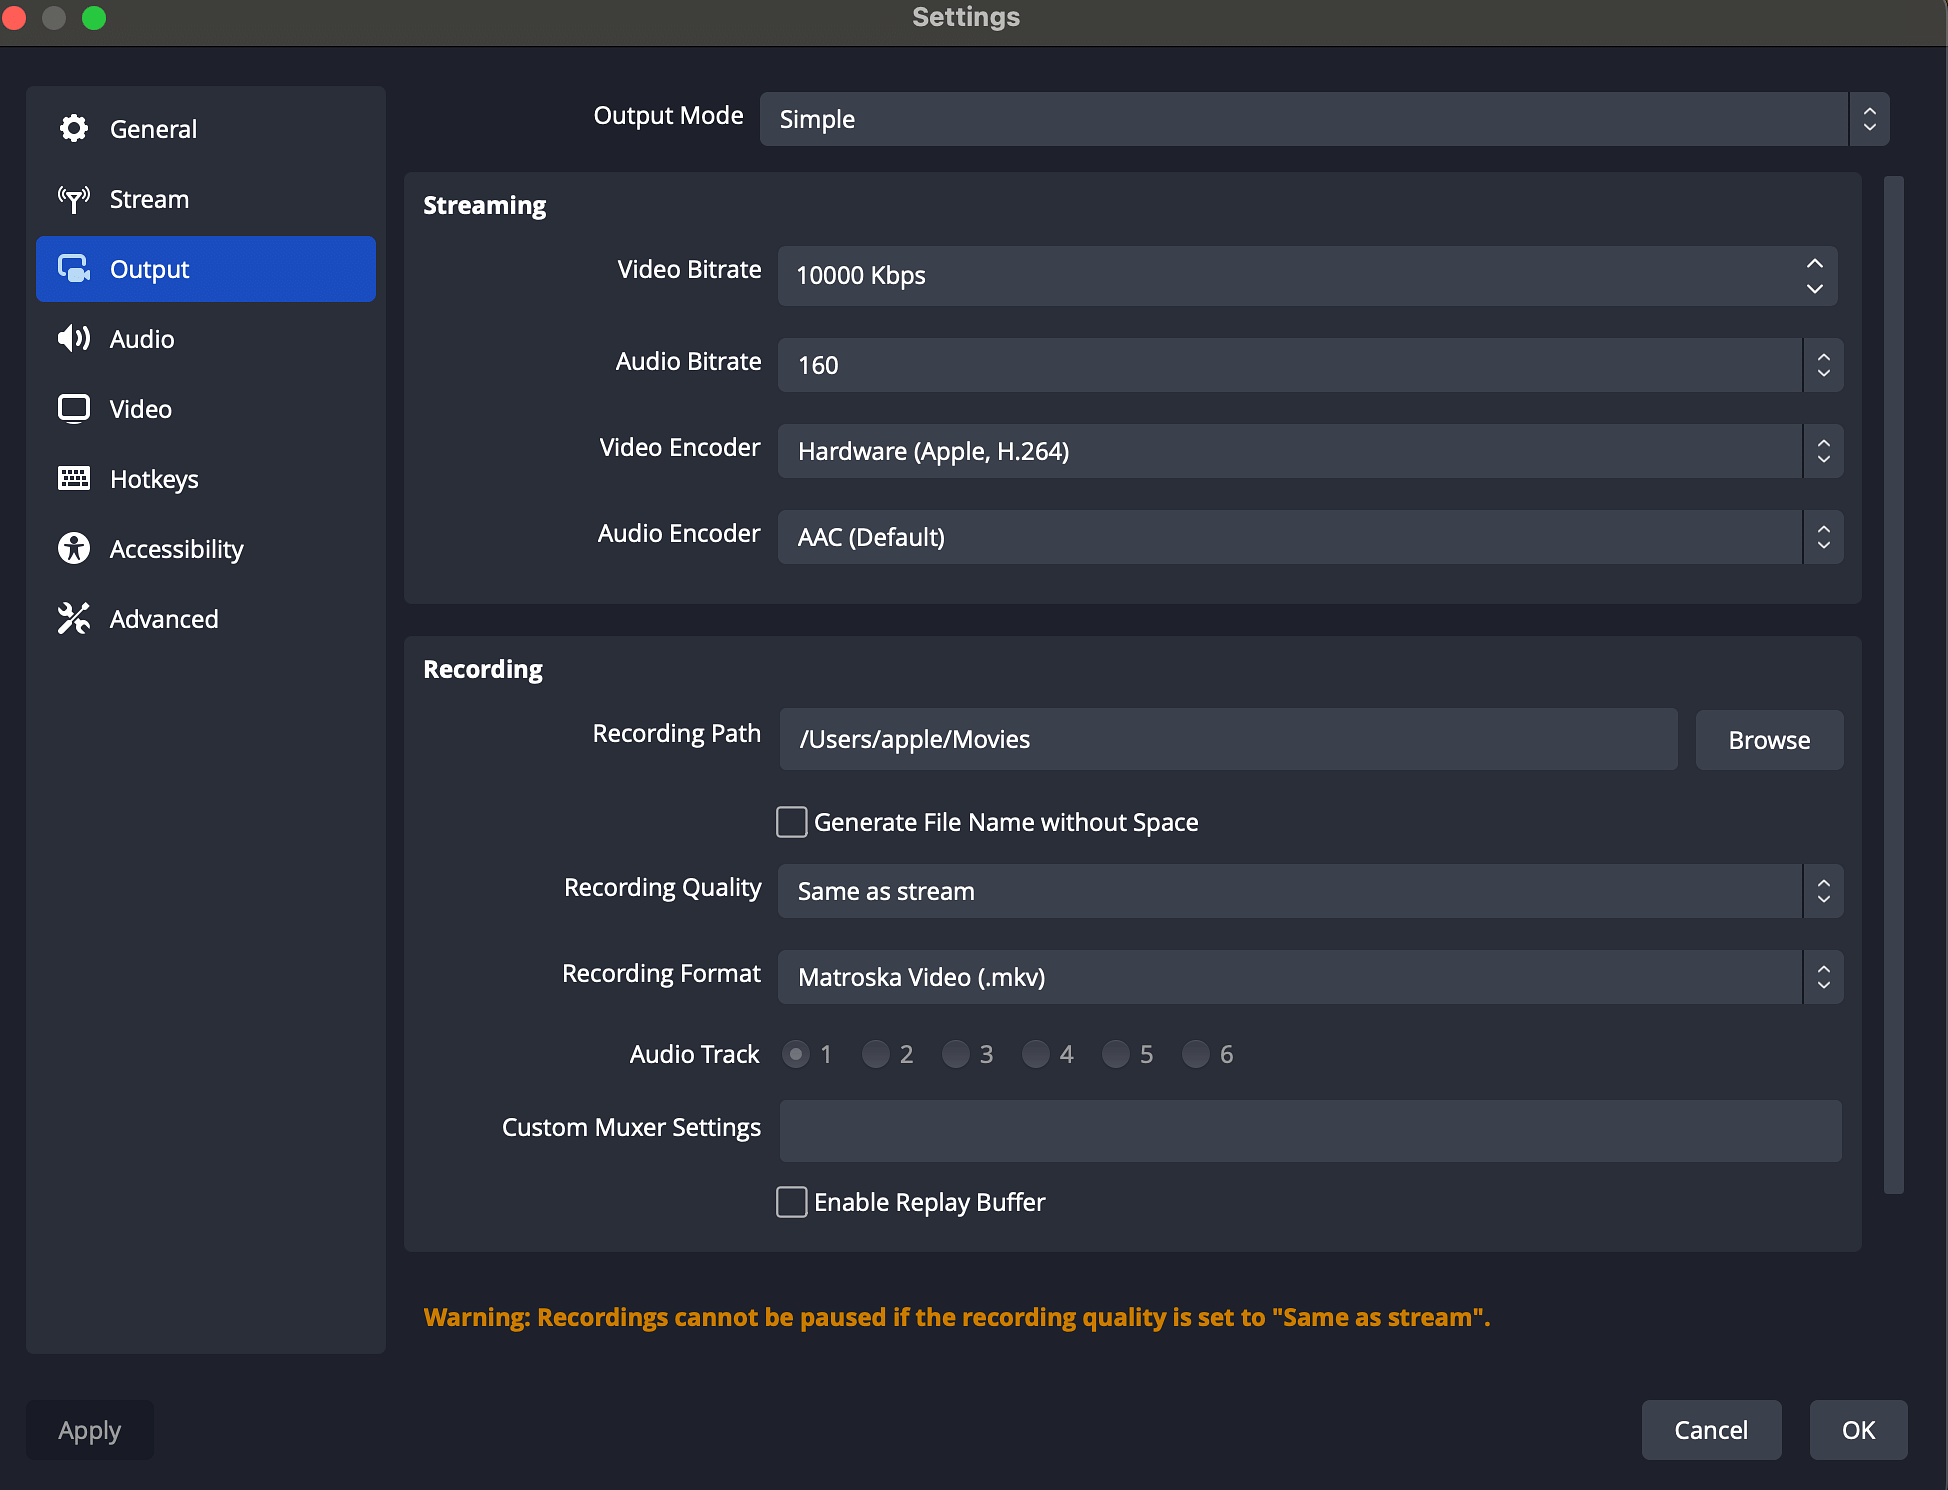
- Video Bitrate: Generally, 2500-4000 Kbps for 1080p. However, 4K recordings would need significantly higher bitrates.
- Audio Bitrate: Ranges between 128-320 Kbps. Higher bitrates yield clearer audio. 192 kbps is recommended for best results.
- Video Encoder: x264 is popular and versatile, but if you have a powerful Nvidia GPU, NVENC could provide better performance.
- Audio Encoder: Choose AAC as your audio encoder as it is commonly used and widely compatible.
- Recording Format: MKV is the best OBS recording format due to its versatility, support for various codecs, and ease of conversion to MP4 for editing or sharing. You can also use MP4 as it's widely supported and if you are looking for smaller file sizes.
- Rate Control: CBR (Constant Bitrate) offers consistency, while VBR (Variable Bitrate) can adjust based on the complexity of the video but may introduce variability in quality.
- Keyframe Interval: 2 seconds is standard for most streaming platforms.
If you set the Output Mode in Output Settings to "Advanced", you will unlock the following settings:
- CPU Usage Preset: The following settings can be applied based on your requirements:
- Medium: A good starting point for most users, balancing quality and performance.
- Very Fast: For older hardware or when performance is critical.
- Slow: For maximum quality but requires significant processing power.
- Profile: Set to "high" for improved video quality.
- Tune: Leave this to "none" unless you have specific needs like film or animation.
Audio Settings:
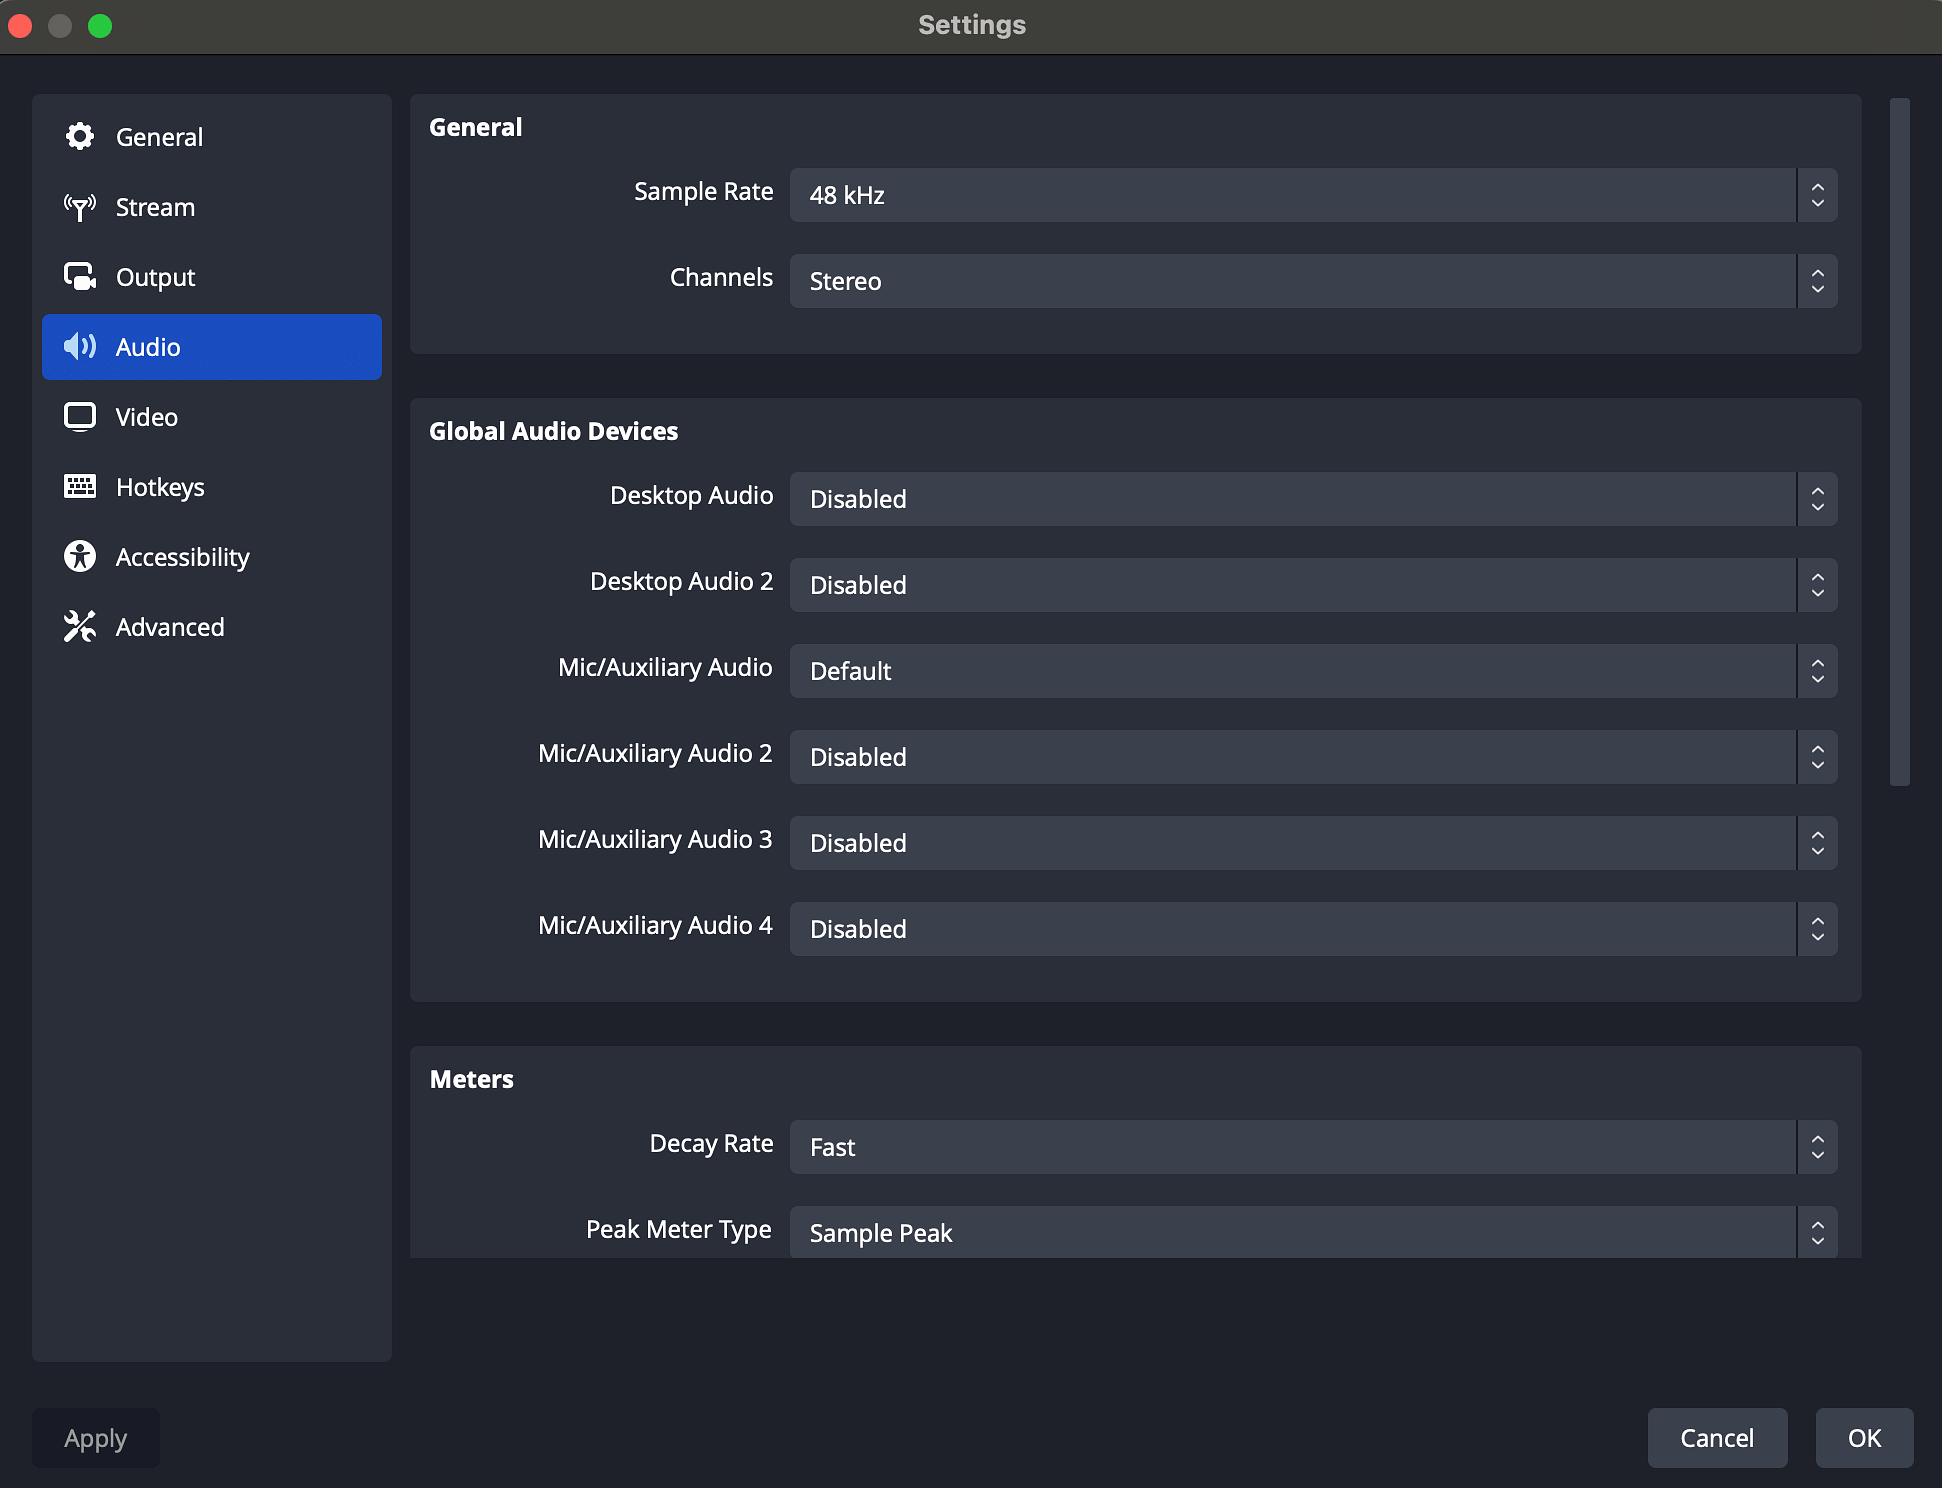
- Sample Rate: 44.1 kHz is standard, but 48 kHz can offer a slight improvement in audio quality.
- Channels: Stereo for most uses, but Mono can be selected if only one audio source is present.
Video Settings
- Output Resolution: Typically set to 1920x1080 for Full HD videos. However, 1280x720 can be chosen for less demanding tasks.
- Common FPS Values: Choose between 30 (for standard recordings) or 60 (for high-motion content).
- Downscale Filter: Lanczos is recommended for a sharper image, especially when downscaling.
Advanced Settings
- CPU Priority: Set to above normal to ensure OBS gets adequate resources.
- Process Priority: High can be beneficial, but adjust if you experience system slowdowns.
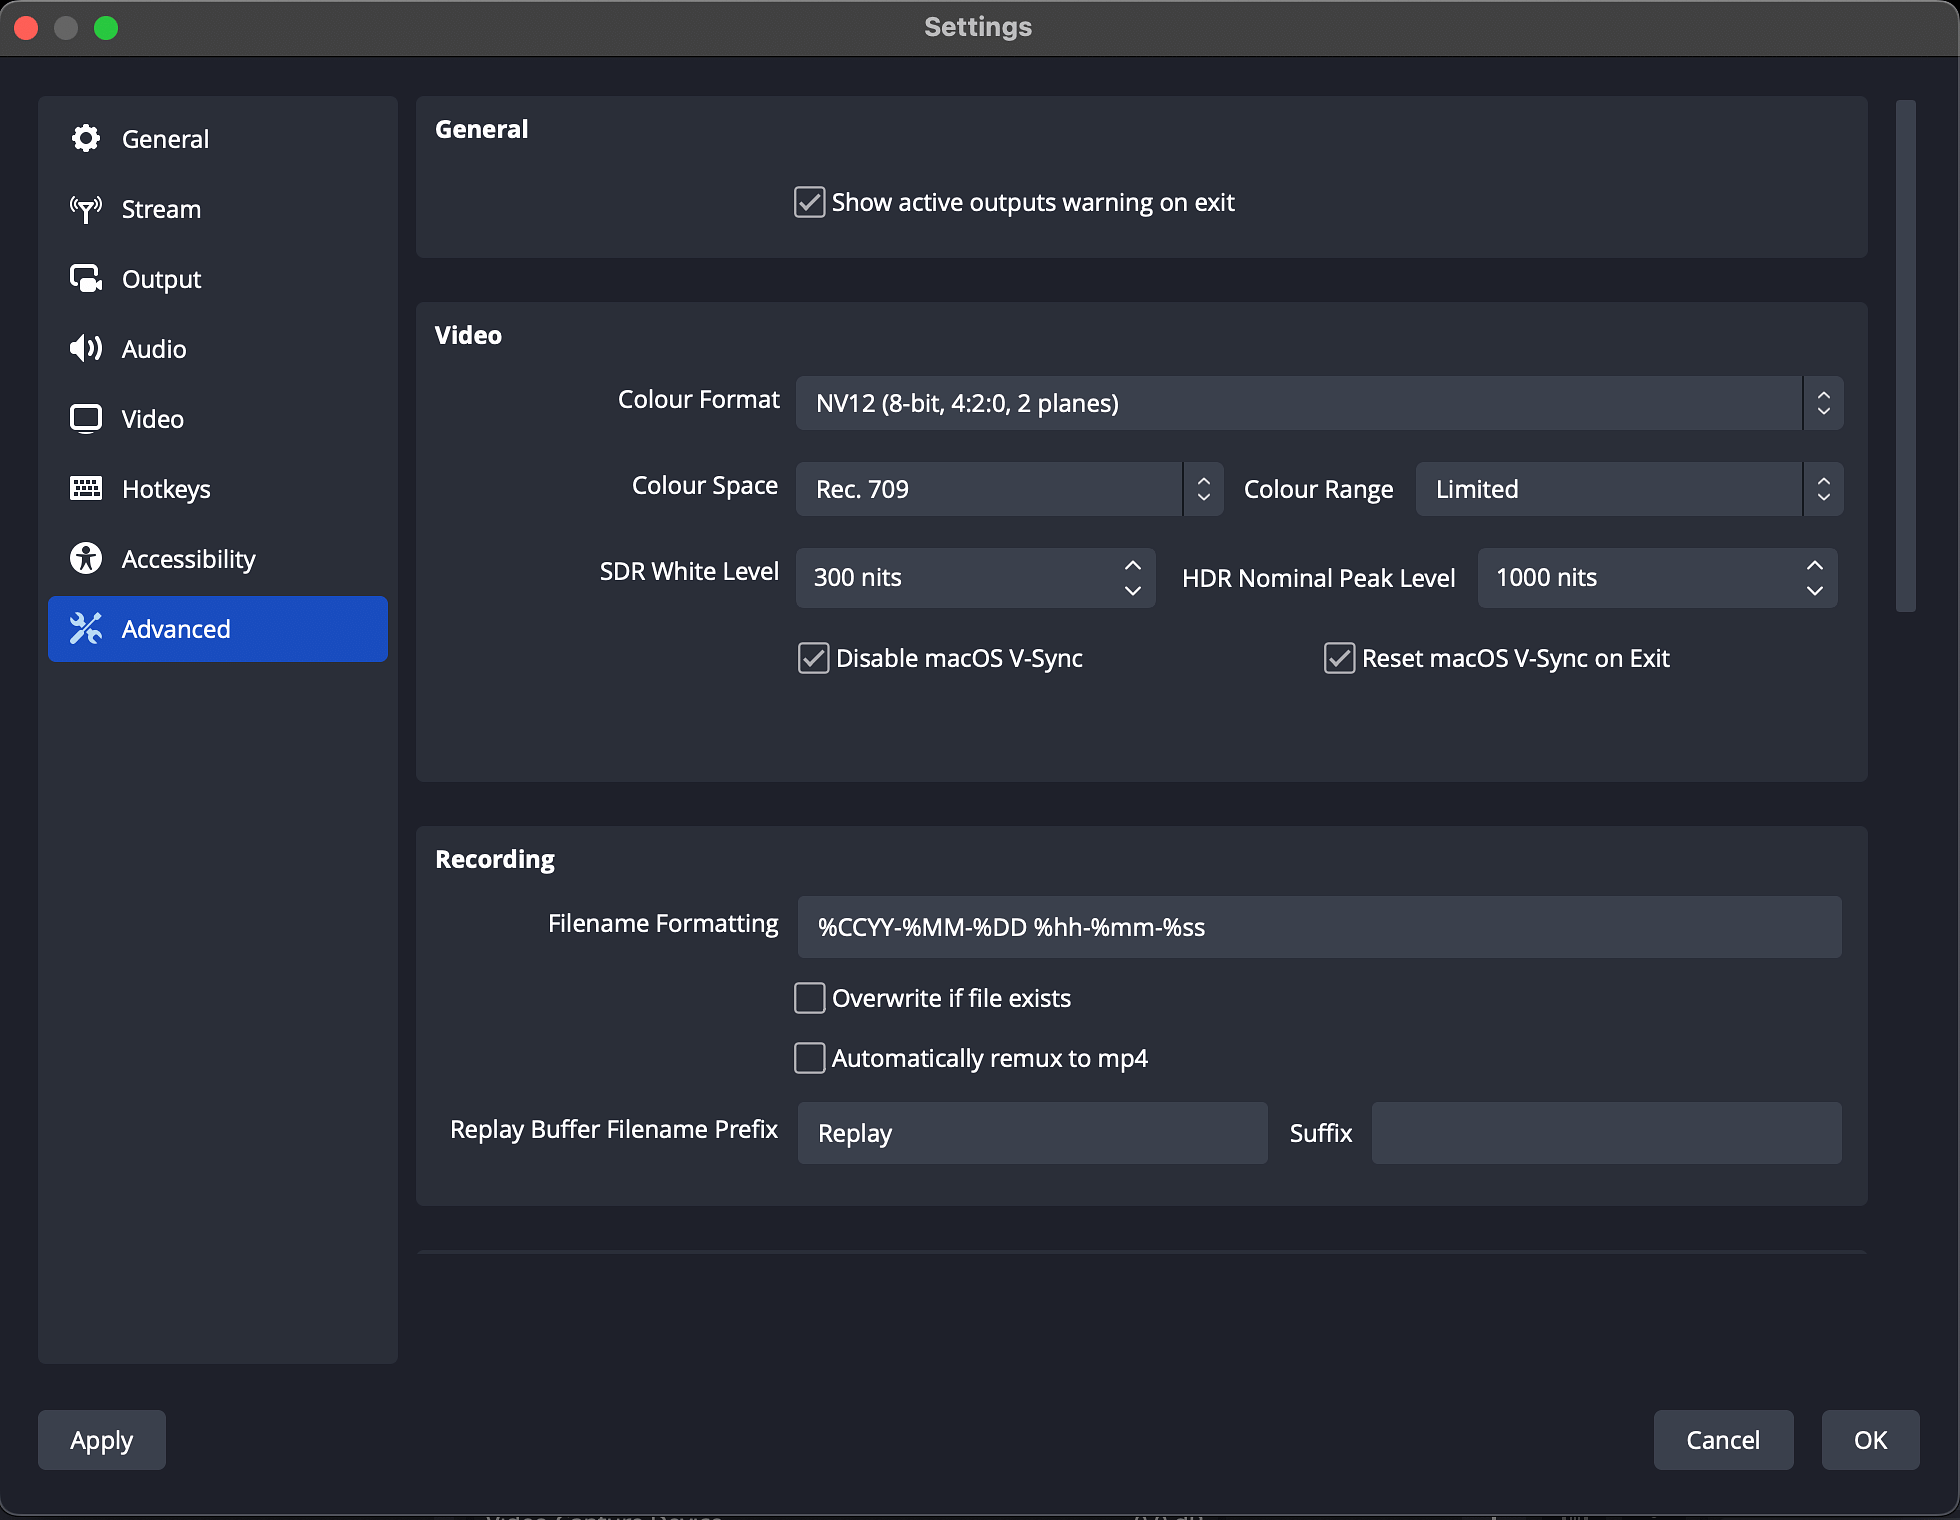
- Color Range: Set to Limited (standard) unless your source material is in full range.
- Color Space: Rec. 709 is ideal for most modern displays, but Rec. 601 can be selected for compatibility with older screens.
Color Format: For most users, NV12 is the ideal color format for high-quality OBS recordings. It offers a good balance between image quality and performance.
These settings provide a foundation, but remember that the ideal configuration may vary depending on your system's capabilities and your project's specific requirements.
Recommended OBS Recording Settings for Different Use Cases
Depending on the nature and purpose of your content, you'll want to tweak your OBS settings to match. This ensures that your audience enjoys the best viewing experience while you minimize resource and bandwidth usage. Let's explore some recommended settings tailored for various common use cases.
Screen recording (Tutorial Videos)
- Output Resolution: 1920x1080 for clarity, but 1280x720 can suffice for basic tutorials.
- Output FPS: 30 - Adequate for most tutorial videos where a high frame rate is not a priority.
- Video Bitrate: 2500-3000 Kbps to balance video quality and file size.
- Encoder: x264 for compatibility and consistency.
- Audio Bitrate: 128 Kbps for clear voice narration.
Gaming
- Output Resolution: 1920x1080 for Full HD; 2560x1440 or 3840x2160 for higher-end content.
- Output FPS: 60 - Essential for capturing fast-paced game action.
- Video Bitrate: 5000-8000 Kbps for 1080p; consider 12000-24000 Kbps for 4K.
- Encoder: NVENC if you have a supported Nvidia GPU; otherwise, x264.
- Audio Bitrate: 160 Kbps to capture both game sounds and commentary clearly.
Video Conferencing
- Output Resolution: 1280x720 for smooth video calls without excessive bandwidth consumption.
- Output FPS: 30 - Natural motion without taxing system resources.
- Video Bitrate: 1500-2500 Kbps for a clear image without network strain.
- Encoder: x264 for broad compatibility across devices.
- Audio Bitrate: 128 Kbps for clear voice.
YouTube Streaming
- Output Resolution: 1920x1080 for a standard stream; 2560x1440 for higher definition.
- Output FPS: 30 for talk shows or low-motion content; 60 for gaming or high-motion broadcasts.
- Video Bitrate: 4000-6000 Kbps for 1080p, as recommended by YouTube.
- Encoder: x264 or NVENC, depending on your GPU and preference.
- Audio Bitrate: 128-160 Kbps to ensure viewers enjoy clear audio.
Low-End PC
- Output Resolution: Lower resolutions, such as 720p (1280x720) or even 480p (640x480), can significantly reduce the processing load.
- Frame Rate: Reduce the frame rate to 30fps or even 24fps. This will decrease the amount of data processed.
- Video Bitrate: Lower bitrate means less data, but it also impacts video quality. Start with a bitrate around 2500-3500 kbps and adjust based on performance.
- Encoder: Use x264 as the encoder, as it offers a good balance between quality and performance.
- CPU Usage Preset: Set to "Very Fast" to prioritize performance over quality.
- Color Range: Set to Limited.
- Recording Format: MP4 is generally more efficient for low-end systems.
Understanding the unique demands of each use case enables you to fine-tune OBS for optimal performance and quality. Tailoring your settings ensures that you deliver content that stands out and meets the expectations of your target audience.
Why Must You Choose the Right OBS Settings?
Selecting the right settings in OBS (Open Broadcaster Software) is crucial for creating high-quality videos. OBS allows users to adjust various parameters to optimize video and audio output. The wrong settings can result in videos with lag, pixelation, poor audio quality, or even failure to record at all. On the other hand, selecting the appropriate settings ensures smooth playback, clear visuals, and crisp audio, enhancing the viewer's experience.
How to Improve OBS Video Quality for Buffer-Free Streaming?
Once you've recorded with OBS, how do you refine your video further and ensure your audience can view it without hitches or glitches? Let's explore some best practices and tools to do so:
- Optimal Hardware Configuration: Before you even hit the 'record' button, make sure your system is equipped to handle the demands of video recording. A faster CPU, a powerful GPU, and ample RAM can significantly improve video quality.
- Stable Internet Connection: For those streaming or uploading content, a stable and fast internet connection ensures your video reaches the audience without buffering or quality drops. If possible, opt for a wired connection over WiFi for added stability.
- Update Software Regularly: Keeping OBS and your operating system updated ensures compatibility, optimization, and access to the latest features that can enhance video quality.
- Post-Processing: After recording, use video editing software to refine your content. This allows you to adjust color grading, clean up audio, and add effects that can elevate your video's overall quality.
- Use Video Hosting Platforms: Where should you host content once your content is polished and ready for the world? While many platforms are available, specialized video hosting platforms offer a range of benefits that can significantly enhance user experience. Gumlet is a robust video hosting solution, especially for OBS recordings. One of its primary strengths lies in adaptive bitrate streaming. This means that depending on the viewer's device and internet speed, Gumlet automatically adjusts the video quality to provide the best viewing experience without buffering. Moreover, with its global Content Delivery Network (CDN), videos are delivered swiftly from the nearest server location, ensuring minimal latency.
- File Formats and Codecs: Use modern file formats like MP4 and codecs like H.264 or H.265. They offer good compression rates and compatibility, ensuring video quality is retained during playback.
- External Devices: Consider using external microphones and cameras. The built-in devices in computers often don't match the quality of dedicated external devices.
In essence, while OBS is a powerful tool, ensuring top-notch video quality doesn't stop once you've finished recording. From hardware choices to platforms like Gumlet, numerous factors come into play in the journey of delivering seamless, high-quality content to your audience.
Tips for Troubleshooting OBS Recording Problems
Whether you're faced with a black screen, laggy recordings, or mysterious error messages, troubleshooting OBS issues can be daunting, especially when you're in the middle of an important recording or live session. The good news is that many common problems have known solutions. Here's a deep dive into some tips to get you back on track.
- Run OBS as Administrator: Many issues can be resolved by simply right-clicking the OBS shortcut and selecting "Run as administrator." This grants the software elevated permissions, often bypassing potential roadblocks.
- Update OBS and Drivers: Ensure you're using the latest version of OBS. Outdated software can lead to compatibility issues. Similarly, keep your GPU drivers updated. Manufacturers regularly release updates to improve performance and fix bugs.
- Check GPU Overloads: If your recordings are laggy or dropping frames, your GPU might be overloaded. Reduce the load by lowering the output resolution or using a different encoder. Monitoring GPU usage through task manager or software like MSI Afterburner can give insights.
- Address Black Screens: A common OBS issue is the dreaded black screen in the capture window. This often arises from GPU settings. For NVIDIA users, go to the NVIDIA Control Panel, navigate to "Manage 3D settings," and set OBS to run on the integrated graphics.
- Adjust Bitrate: If you're experiencing buffering or dropped frames during streaming, your bitrate might be too high for your internet connection. Test your upload speed and adjust the bitrate accordingly in OBS settings.
- Inspect Audio Issues: No audio or desynchronized sound can be frustrating. Ensure your audio devices are set up correctly in OBS and consider using the "Sync Offset" option if your audio is out of sync with the video.
- Switch Between Windowed and Full-Screen Modes: Some games or applications don't play well with OBS in full-screen mode. If you're having capture issues, consider switching the application to windowed mode or using "Window Capture" instead of "Game Capture" in OBS.
- Check for Software Conflicts: Other software running in the background, especially those that use overlays or screen recording functionalities, might interfere with OBS. Close unnecessary programs or consider disabling hardware acceleration in applications like web browsers.
- Log Files for Detailed Analysis: OBS automatically saves log files that provide detailed information about each session. If a problem persists, reviewing the log file can give clues or error messages pinpointing the issue.
- Seek Community Support: The OBS community is vast and active. If you cannot resolve a problem, consider contacting the OBS forums or related Reddit communities. Chances are someone has faced – and solved – a similar issue.
Remember, troubleshooting is often a process of elimination. By systematically working through potential issues, you can identify the root cause and find a solution to ensure smooth and high-quality OBS recordings.
Conclusion
Open Broadcaster Software (OBS) is a tool that democratizes digital content creation, allowing both beginners and professionals to share their visions. However, its true potential is only unlocked when used with knowledge and understanding. To enhance the quality of your output, make decisions like selecting ideal recording settings and leveraging platforms like Gumlet.
FAQs
1. What are the best OBS settings for recording 1080p 60fps?
- Output Resolution: 1920x1080
- FPS: 60
- Bitrate: 4000-6000 Kbps
2. Why is my OBS recording laggy?
The lag in OBS recordings can result from overburdened system resources, incorrect settings, or an unstable internet connection.
3. What bitrate is needed for 4K 60fps OBS recording?
For 4K 60fps recordings, a bitrate ranging from 20,000 to 51,000 Kbps is recommended. Adjust based on available storage and desired file size.
4. How to fix OBS recording quality?
You can increase the video bitrate (15,000-40,000 kbps) and consider hardware encoding (if available) in OBS settings. You can also optimize by closing background programs and adjusting OBS process priority. Another method would be to experiment with downscale filters and rate control (CBR for consistent quality). Upgrading your CPU/GPU can also significantly improve performance.
5. What is the best format to record in OBS?
MKV is generally considered the best format for recording in OBS. It supports a wide range of codecs and can handle complex video/audio setups. It's also less prone to corruption compared to other formats, especially during long recording sessions. Lastly, you can easily convert MKV files to other formats like MP4 for editing or sharing.
However, there are other options to consider:
- MP4: Widely compatible, but it's not as robust as MKV for long recordings and can be prone to corruption if interrupted.
- FLV: Offers good compression and fast recording speeds, but it's less widely supported than MKV or MP4.
6. What is the best recording path for OBS?
The best recording path is an easily accessible location on your storage drive with ample space. The default recording path is set to the Video folder in the main documents folder.
To set the recording path in OBS:
- Go to File > Settings.
- Select the Output tab.
- Click the Browse button next to Recording Path.
- Choose your desired location.