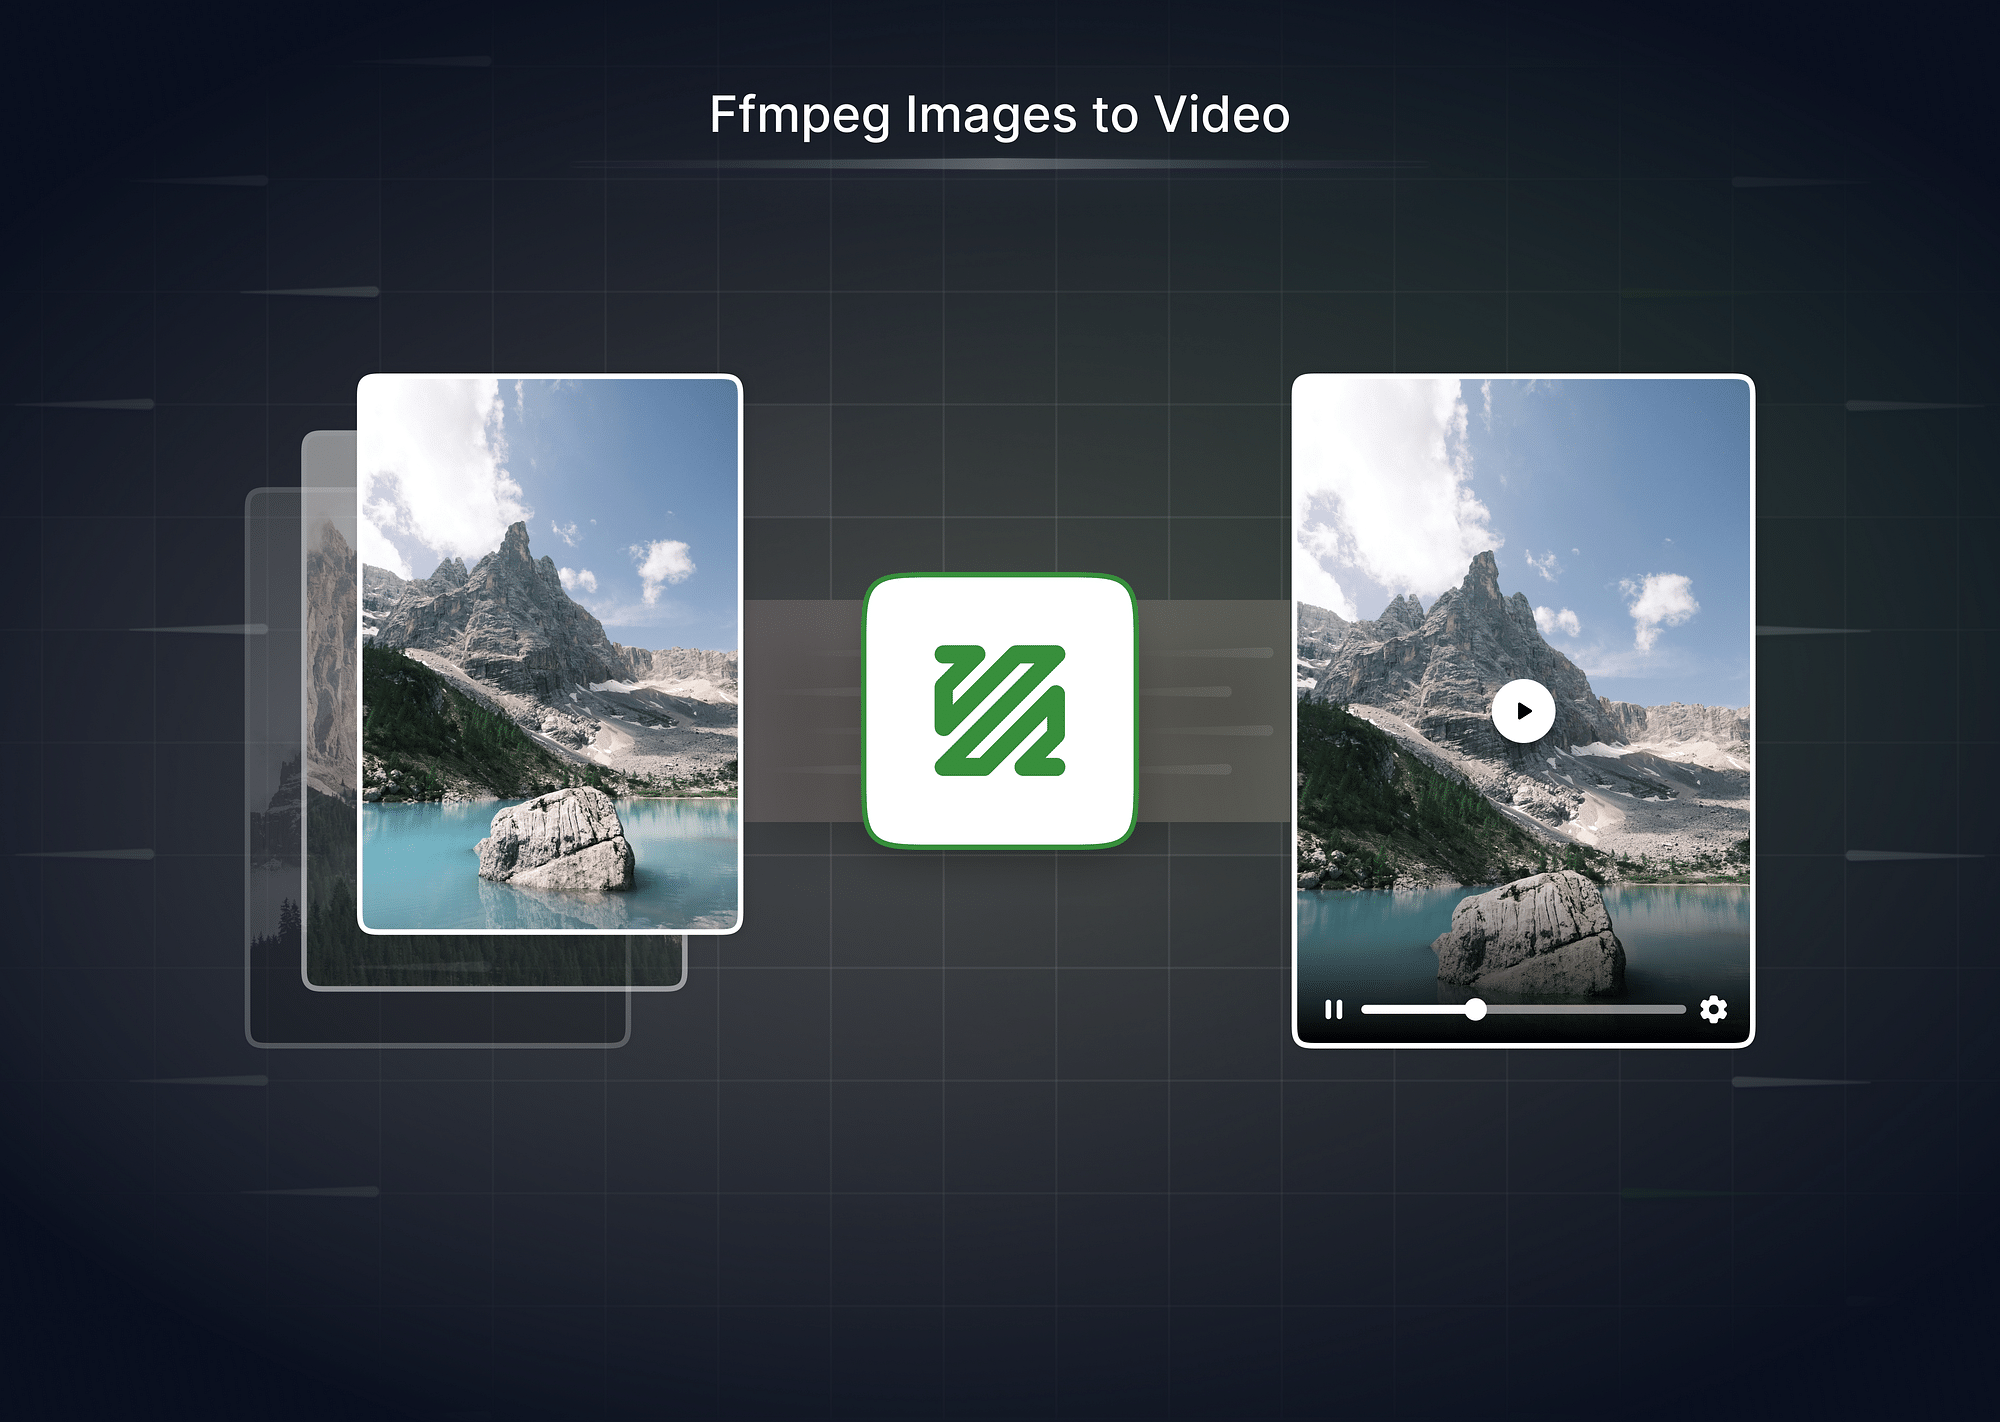
In this guide, we'll walk you through the steps to convert images into a video, covering essential commands and tips to ensure smooth playback and optimal quality. Let’s get started!
Installing FFmpeg
FFmpeg is one of the most versatile tools for multimedia processing. Its ability to handle virtually any format, combined with its speed and efficiency, makes it an excellent choice for converting images into video. Whether you're dealing with sequential frames or unordered files, FFmpeg can manage it all.
Before starting, ensure FFmpeg is installed on your system. Here's a quick installation guide:
- Windows: Download the latest FFmpeg build from ffmpeg.org, extract it, and add the bin folder to your system’s PATH.
- MacOS: Use Homebrew:
brew install ffmpeg- Linux: Use your package manager:
sudo apt install ffmpegPreparing Your Images
Preparing your images is a crucial step in ensuring a smooth and seamless conversion into a video. Proper preparation saves you from potential errors and guarantees a polished final output. Here’s a detailed guide to help you get your images ready:
Step 1: Collecting Your Images
To start, gather all the images you plan to include in your video. The quality of your video largely depends on the consistency and resolution of these images.
- Ensure all the images are in the same format (e.g., .png, .jpg). Mixing formats can confuse FFmpeg and lead to errors during processing. Stick to one format throughout the project.
- All images should have the same resolution to avoid jarring transitions or black borders appearing in the video. If your images vary in size, consider resizing them to a uniform resolution using FFmpeg or image editing tools.
By paying attention to these details, you'll ensure a professional and consistent video output.
Step 2: Naming and Organizing Images
Naming and organizing your images is critical for FFmpeg to interpret them correctly and maintain their order in the video sequence.
- Rename your files in a numerical order, such as image001.jpg, image002.jpg, and so on. This ensures FFmpeg processes the images in the correct sequence, creating a smooth video.
- Use file renaming tools or scripts to rename files quickly, especially when working with a large number of images.
- Keep all images in a single folder dedicated to your project. This simplifies the command syntax and minimizes errors caused by misplaced files.
Proper naming and organization streamline the entire process and make troubleshooting easier if any issues arise.
Step 3: Choosing the Desired Frame Rate
The frame rate is a defining factor in how your video will look and feel. It determines how many images (frames) are displayed per second.
- Understanding Frame Rate:
- A higher frame rate means smoother playback but requires more images to maintain duration.
- A lower frame rate creates a choppy effect, often used for artistic or slow-motion videos.
- Common Frame Rates:
- 24 fps: Standard for cinematic videos, offering a classic, film-like appearance.
- 30 fps: Ideal for smoother playback, commonly used in online content and presentations.
- Impact on Playback Speed: For example, if you have 120 images and choose a frame rate of 24 fps, your video will last 5 seconds. Opting for 30 fps will shorten it to 4 seconds.
You can specify the desired frame rate later in your FFmpeg command to achieve the exact playback speed you need for your project. With your images collected, named, and organized, and your frame rate decided, you’re ready to move on to the next steps.
Basic FFmpeg Command to Convert Images to Video
When you have a sequence of images and you’re ready to turn them into a video, FFmpeg provides a straightforward command that makes the process efficient and easy. Below is an in-depth breakdown of the syntax you'll need to follow.
This command assumes that your images are sequentially numbered and stored in the same folder. FFmpeg will then take these images and create a smooth video from them, ensuring that they appear in the correct order.
Syntax Breakdown
The basic command looks like this:
ffmpeg -framerate [fps] -i [input_pattern] -c:v [codec] [output_file]Let’s break down each component:
- -framerate [fps]:
- This option specifies the frame rate of the video. The frame rate determines how many images are shown per second. For instance, 24 is commonly used for cinematic videos, while 30 is popular for smoother playback in most cases.
- Example: If you use -framerate 24, your video will display 24 images per second.
- -i [input_pattern]:
- The input pattern tells FFmpeg where to find your images and in what order. For sequentially named images, you would use a pattern like image%03d.png, where %03d is a placeholder for the sequential numbers of your images (e.g., image001.png, image002.png).
- Example: -i image%03d.png tells FFmpeg to look for images named image001.png, image002.png, and so on.
- -c:v [codec]:
- This specifies the video codec that FFmpeg will use to encode the output video. The codec defines how the video is compressed. A popular codec for MP4 videos is libx264, which provides high-quality output.
- Example: -c:v libx264 will use the H.264 video codec, a widely supported format for creating MP4 videos.
- [output_file]:
- This is the name of the final video file you want to create, including the file extension (e.g., output.mp4). FFmpeg will combine all your images into this video file.
Example Commands
Here are a couple of examples that demonstrate how to use the basic FFmpeg command with different image formats.
- Converting a PNG Sequence to MP4: If you have a series of PNG images (named sequentially like image001.png, image002.png, etc.), you can convert them into an MP4 video with the following command:
ffmpeg -framerate 24 -i image%03d.png -c:v libx264 output.mp4This command will take the PNG images, set a frame rate of 24 frames per second, and encode the video using the libx264 codec, resulting in an MP4 video named output.mp4.
- Converting a JPG Sequence to MP4: Similarly, if your images are JPEG files (e.g., image001.jpg, image002.jpg), use this command:
ffmpeg -framerate 30 -i image%03d.jpg -c:v libx264 output.mp4This command will process the JPEG images at a frame rate of 30 frames per second, encode them into an MP4 video using the libx264 codec, and output the video as output.mp4.
By using these basic commands, you can easily convert a sequence of images into a video. Just make sure your images are properly named and organized, and you’re ready to go. You can also experiment with different frame rates and codecs to adjust the look and feel of the final video.
Using glob for Non-Sequential Images
When your images are not sequentially named, such as holiday.jpg, vacation.jpg, and beach.jpg, you might think that creating a video from them would be a challenge. Fortunately, FFmpeg provides the -pattern_type glob option, which simplifies working with non-sequentially named files. This feature lets you specify a pattern that matches all files of a particular type in a folder, eliminating the need for renaming.
Syntax Breakdown
The command for processing non-sequential images looks like this:
ffmpeg -pattern_type glob -i "[file_pattern]" -c:v [codec] [output_file]Let’s break it down:
- -pattern_type glob:
- This option tells FFmpeg to use the glob pattern matching method. With glob, you can match all files that share a common extension (e.g., .jpg or .png) regardless of their specific names.
- Example: *.jpg matches all .jpg files in the folder.
- -i "[file_pattern]":
- The file pattern specifies which files to include in the video. You can use wildcards (*) to match multiple files of the same type.
- Example: "*.jpg" matches files like holiday.jpg, vacation.jpg, and beach.jpg.
- -c:v [codec]:
- This specifies the video codec, such as libx264 for MP4 files.
- [output_file]:
- The name of the final video file, including the extension (e.g., output.mp4).
Example Command
Here’s an example of how to create a video from non-sequential .jpg files:
ffmpeg -pattern_type glob -i "*.jpg" -c:v libx264 output.mp4This command takes all .jpg files in the folder, regardless of their names, and combines them into a video. It uses the libx264 codec to encode the video and saves the output as output.mp4.
Here are some key points for you to keep in mind:
- File Sorting: FFmpeg processes files in alphabetical order by default. For example, beach.jpg will come before holiday.jpg if sorted alphabetically. If you want a custom order, you’ll need to rename the files or pre-sort them.
- Mixed File Types: If you have multiple file types (e.g., .jpg, .png), you can either run separate commands for each file type or include both in the same folder and use a more specific glob pattern like "*.jpg".
- Folder Organization: Place only the images you want to include in the video in a dedicated folder to avoid processing unwanted files.
With the -pattern_type glob option, FFmpeg eliminates the need for tedious renaming when working with non-sequential images. This feature is perfect for quick projects or situations where your files aren’t named systematically but still need to be combined into a stunning video.
Advanced FFmpeg Options for Creating Videos
FFmpeg's versatility shines with its advanced features, allowing you to enhance your videos in numerous ways. Whether you want to add background music, customize resolutions, create looping slideshows, or overlay text, FFmpeg provides simple yet powerful commands to achieve your goals.
Adding Audio to the Video
Adding an audio track to your video can transform a simple slideshow into a dynamic and engaging presentation. FFmpeg makes it easy to combine images and audio.
Here’s how you can use this command:
ffmpeg -framerate 24 -i image%03d.png -i background.mp3 -shortest -c:v libx264 -c:a aac output.mp4Let’s understand the breakdown of this command:
- -framerate 24: Sets the frame rate of the video.
- -i image%03d.png: Specifies the input sequence of images.
- -i background.mp3: Adds the audio track to the video.
- -shortest: Ensures the video ends when the shorter of the audio or video streams finishes, preventing playback issues.
- -c:v libx264: Encodes the video using the H.264 codec.
- -c:a aac: Encodes the audio using the AAC codec.
Setting Custom Resolutions
You may want to resize your video to meet specific platform requirements or improve compatibility. FFmpeg allows you to adjust the resolution directly during the conversion process.
The command that lets you do it is:
ffmpeg -framerate 24 -i image%03d.png -vf scale=1280:720 -c:v libx264 output.mp4Here are the key parameters of the above command, and what they mean:
- -vf scale=1280:720: Scales the video to 1280x720 pixels (HD resolution). You can modify the values to match your desired resolution.
- -c:v libx264: Ensures high-quality video encoding.
Creating a Looping Slideshow
Want to loop your video for a specific duration or number of times? FFmpeg can repeat your images, creating a looping effect. Here’s how:
ffmpeg -stream_loop 3 -i image%03d.png -c:v libx264 output.mp4Here’s what this command breaks down to:
- -stream_loop 3: Loops the sequence three times.
- -i image%03d.png: Specifies the input image sequence.
- -c:v libx264: Encodes the video in MP4 format.
Adding Text Overlays
Overlaying text on your video is a great way to add captions, titles, or watermarks. FFmpeg provides a flexible drawtext filter for this purpose. Here’s how:
ffmpeg -framerate 24 -i image%03d.png -vf "drawtext=text='My Slideshow':fontcolor=white:fontsize=24:x=10:y=10" -c:v libx264 output.mp4Here’s what this command includes:
- -vf "drawtext=text='My Slideshow':fontcolor=white:fontsize=24:x=10:y=10":
- Adds the text "My Slideshow" in white, with a font size of 24.
- x=10 and y=10 set the text's position on the screen (10 pixels from the top-left corner).
- -c:v libx264: Encodes the output video.
You can mix and match these advanced options to create highly customized videos. For instance, you might want to:
- Add background music and text overlays.
- Create a looping slideshow at a custom resolution.
For instance,
ffmpeg -framerate 24 -i image%03d.png -i background.mp3 -vf "scale=1920:1080,drawtext=text='Event Highlights':fontcolor=yellow:fontsize=36:x=50:y=50" -shortest -c:v libx264 -c:a aac output.mp4Troubleshooting Common Errors
Despite FFmpeg’s efficiency and robustness, you may encounter a few common errors when converting images to video. Understanding these issues and their solutions will help you navigate challenges and create a seamless video. Below are the most frequent problems and their resolutions.
1. Error: "Image file not found"
This error occurs when FFmpeg cannot locate the input image files specified in the command. It typically stems from incorrect file names, extensions, or file paths.
Possible Causes:
- Files are not sequentially named (e.g., image001.png, image002.png).
- File extensions in the command do not match the actual image file extensions (e.g., .jpg vs. .png).
- Files are not located in the specified directory.
Solution:
- Double-check filenames: Ensure that all images are named sequentially using a consistent pattern, such as image%03d.png for files like image001.png, image002.png, etc.
- Verify extensions: Confirm that the extension in the command matches the actual file format (e.g., .jpg or .png).
- Correct file path: If the images are stored in a different directory, provide the full file path in the command.
2. Output Video Quality Issues
Low video quality is a common issue when default settings are used, as FFmpeg might apply minimal compression to save processing time. If the output video appears pixelated or blurry, the problem usually lies in the bitrate or codec settings.
Possible Causes:
- Insufficient bitrate for high-resolution images.
- Default codec settings not optimized for quality.
Solution:
- Increase the bitrate: Specify a higher bitrate to enhance video quality. For example, -b:v 2M sets the bitrate to 2 Mbps, suitable for most HD videos.
- Use a better codec: Opt for codecs like libx264 for MP4 videos, which are known for preserving quality while maintaining reasonable file sizes.
For even higher quality, experiment with the -crf (Constant Rate Factor) setting:
ffmpeg -framerate 24 -i image%03d.png -crf 18 -c:v libx264 output.mp4Lower CRF values (e.g., 18) result in higher quality but larger file sizes.
3. Mismatch in Audio and Video Length
When adding an audio track to a video, you may encounter synchronization issues if the video duration is shorter or longer than the audio. This can result in the audio cutting off or the video playing with a silent ending.
Possible Causes:
- Video duration does not match the audio length.
- FFmpeg processes the video and audio streams independently by default.
Solution:
- Trim the longer stream: Use the -shortest flag to ensure the video stops at the end of the shorter stream (either video or audio). This prevents unwanted silent segments or audio cut-offs.
ffmpeg -framerate 24 -i image%03d.png -i audio.mp3 -shortest -c:v libx264 output.mp4- -shortest: Automatically adjusts the output duration to match the shorter stream (audio or video).
- -c:v libx264: Encodes the video in H.264 format.
If the audio needs to loop to match the video duration, use the -stream_loop option for the audio file:
ffmpeg -framerate 24 -i image%03d.png -stream_loop -1 -i audio.mp3 -c:v libx264 output.mp4Points to Remember
Creating videos from images using FFmpeg is an efficient and customizable process, but attention to detail is key to achieving a polished result. Here are some quick takeaways to keep in mind:
- Prepare Your Images Properly:
- Use consistent formats (e.g., .png or .jpg) and resolutions.
- Name your files sequentially for smooth processing.
- Master Basic and Advanced Commands:
- Use the correct syntax for sequential images or the -pattern_type glob option for non-sequential images.
- Explore advanced options like adding audio, setting custom resolutions, creating looping slideshows, and overlaying text.
- Optimize Quality:
- Increase the bitrate or use a lower CRF value to enhance video clarity.
- Choose reliable codecs like libx264 for high-quality output.
- Troubleshoot Common Errors:
- Double-check file naming and paths if FFmpeg reports missing files.
- Use the -shortest flag to sync audio and video durations.
- Experiment and Customize:
- Combine features like audio tracks, text overlays, and custom resolutions for a unique final product.
- Adjust the frame rate to achieve the desired playback speed and style.
Following these steps and leveraging FFmpeg’s powerful features allows you to create stunning, professional-quality videos from your image collections with ease. Experiment with different commands to find what works best for your project!
FAQs
1. Can FFmpeg handle different image formats in one video?
Yes, use -pattern_type glob to include multiple formats (e.g., .jpg, .png).
2. What are the alternatives to FFmpeg for converting images to video?
Tools like Adobe Premiere Pro, DaVinci Resolve, or free software like Shotcut can achieve similar results.
3. How to add an image to a video in FFmpeg?
Overlay an image using:
ffmpeg -i video.mp4 -i image.png -filter_complex "[1:v]scale=1280:720[overlay];[0:v][overlay]overlay" output.mp4
4. How can I ensure high-quality output when converting images to video using FFmpeg?
Here’s how:
- Use a high bitrate.
- Choose a high-quality codec like libx264.
- Ensure your input images are high resolution.