Whether you're a seasoned developer or just starting out, adding video playback functionality to your Flutter app can feel tricky. In this blog, we'll explore a step-by-step process for implementing a Flutter video player, the best Flutter libraries available for streaming video in your Flutter projects, and practical implementation tips. From choosing the right library to best practices for optimal video performance, we've got you covered. Let's dive in and answer all our questions.
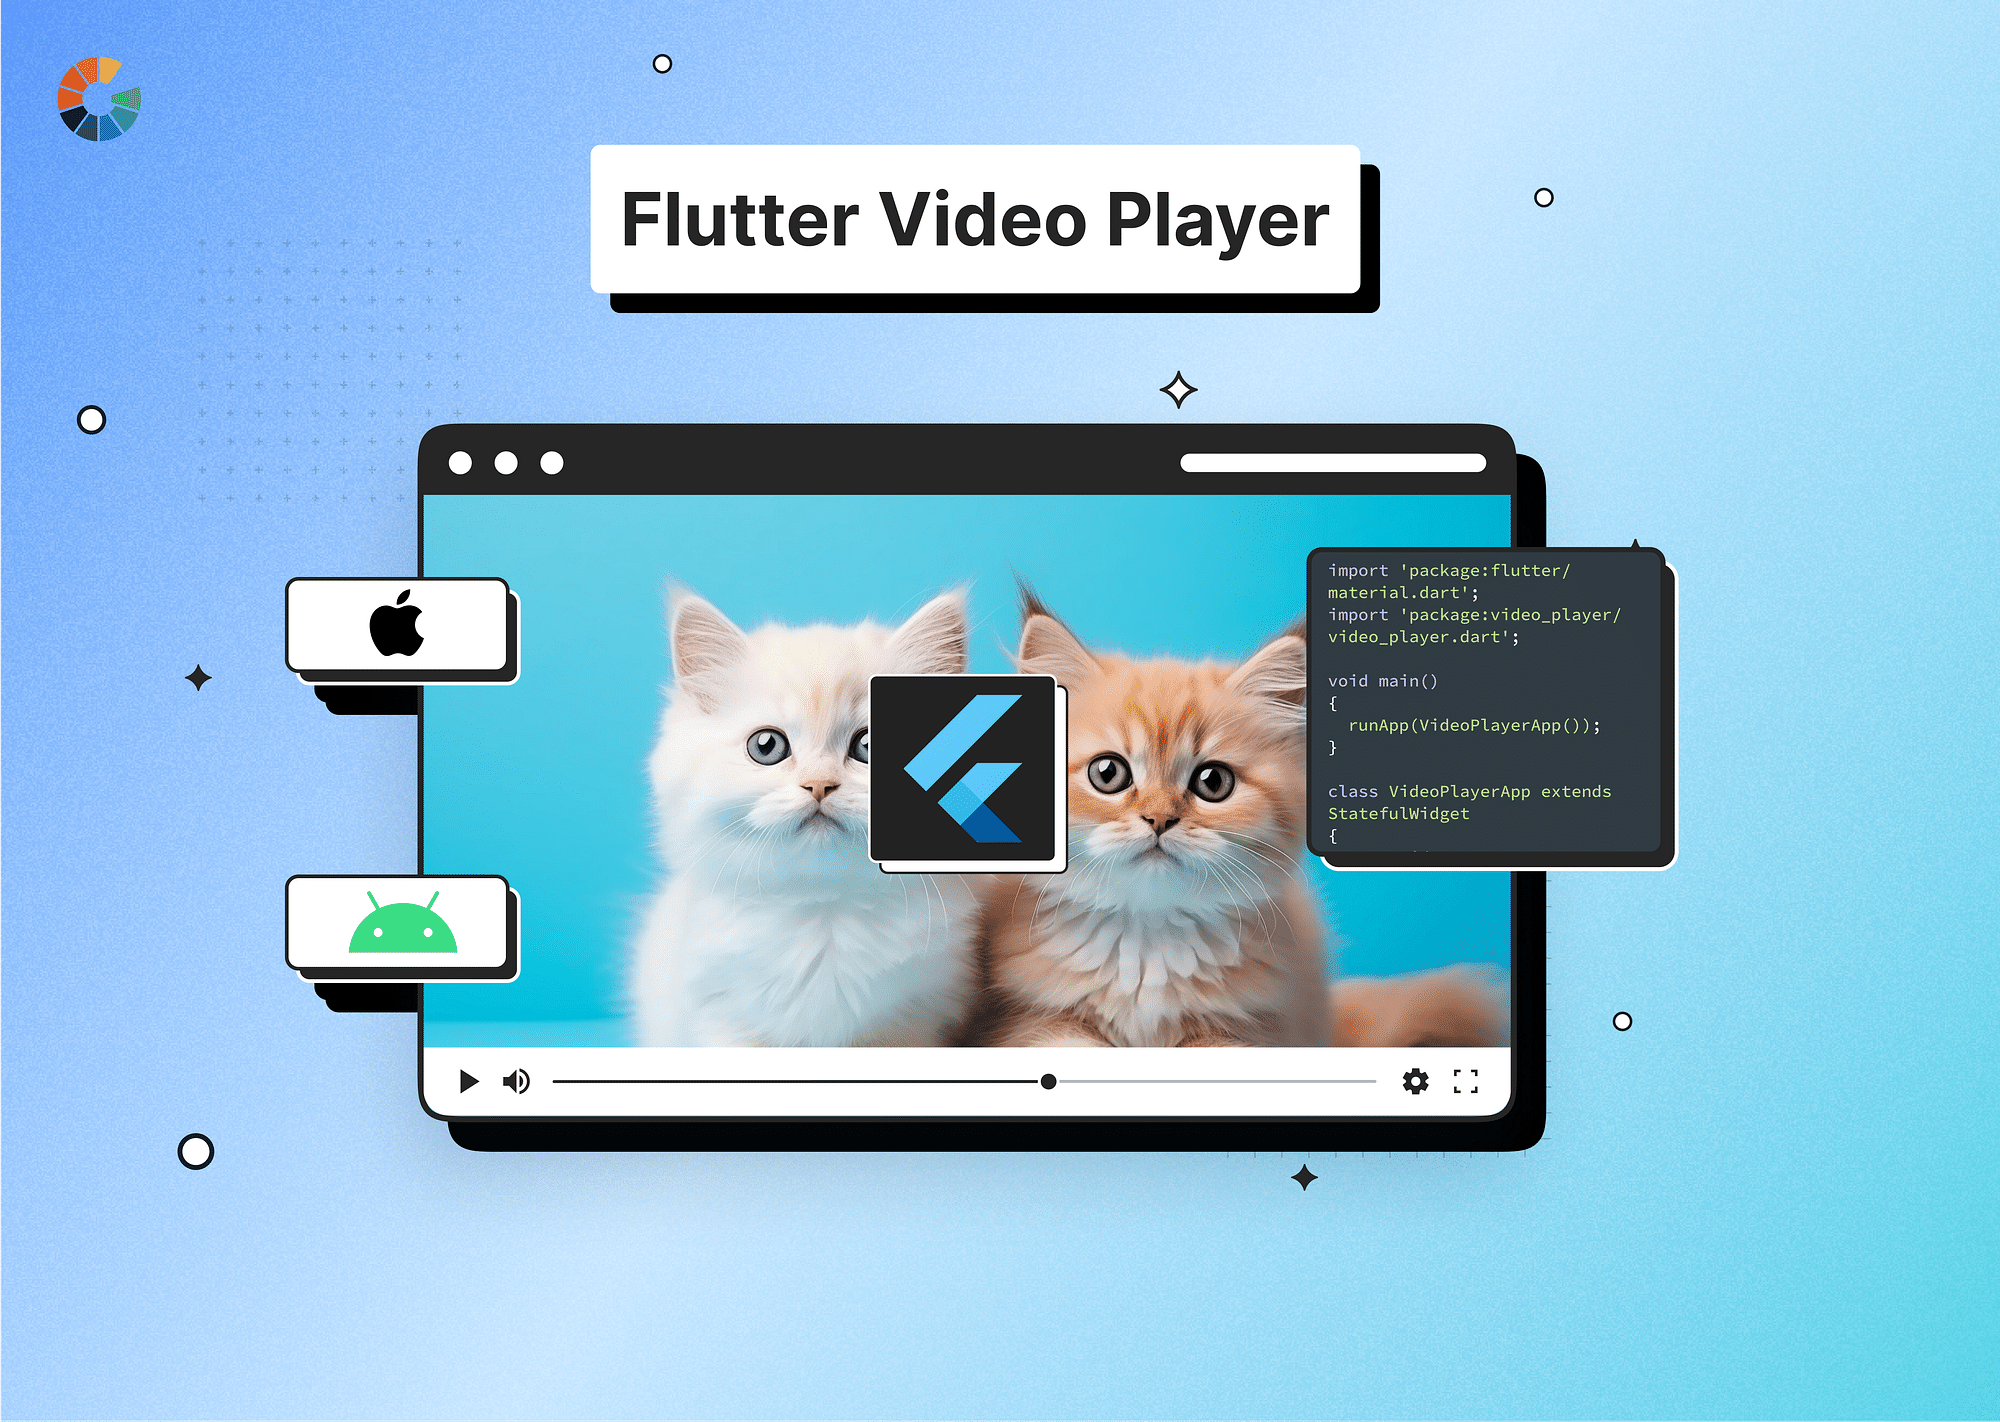
How to Implement a Flutter Video Player?
Implementing a video player in Flutter is key for keeping up with the demands of modern app development. Flutter has this covered with its video_player plugin —which allows you to seamlessly add video playback to your apps, whether the videos are stored locally, bundled in as assets, or fetched from the web. No matter the platform, users get a smooth viewing experience because it adapts accordingly. On iOS, it uses the AVPlayer for playback, while on Android, it is the ExoPlayer.
Here's explaining the step-by-step process for implementing video player in flutter:
Setting Up the Environment
Before we get into how to implement the Flutter video player, it's important to set the Flutter environment for video playback. Here are the steps to follow:
Step-1: First, we need to add the Flutter Package. To do this, use the command flutter pub add video_player in your terminal. This command will fetch and download the necessary resources for video playback in your Flutter project:
flutter pub add video_playerStep-2: Once the package is added, it's time to grant permissions for video playback.
- For Android configurations, open the AndroidManifest.xml file located at /android/app/src/main/. Add the <uses-permission> tag for internet access to allow streaming videos from the internet.
<manifest xmlns:android="<http://schemas.android.com/apk/res/android>">
        <application ...>

        </application>

        <uses-permission android:name="android.permission.INTERNET"/>
</manifest>
- For iOS configurations, navigate to the Info.plist file found at /ios/Runner/. Set the NSAllowsArbitraryLoads key to true under the NSAppTransportSecurity dictionary to enable video streaming from the internet on iOS devices.
<key>NSAppTransportSecurity</key>
    <dict>
      <key>NSAllowsArbitraryLoads</key>
      <true/>
    </dict>
Integrating the Video Player Package
Next, we need to integrate the video player package
Step-1: Start by creating a new Flutter project using the command flutter create video_player_example. This will generate a new Flutter project with the specified name.
Step-2: Next, open the pubspec.yaml file of your project and add the video_player dependency under the dependencies section.
dependencies:
  flutter:
    sdk: flutter
  video_player: ^2.1.11
You can add it manually or via terminal using the command: flutter pub add video_player
Step-3: In this step, we'll create a StatefulWidget called VideoPlayerScreen along with its corresponding State class _VideoPlayerScreenState. This StatefulWidget will be responsible for managing the video playback functionality.
- Inside the _VideoPlayerScreenState class, we'll initialize a VideoPlayerController object to control the video playback. Additionally, we'll create a Future object called _initializeVideoPlayerFuture to handle the initialization process asynchronously.
- In the initState method, we'll initialize the VideoPlayerController with the network URL of the video file. We'll also call the initialize method on the controller to start the initialization process.
- In the dispose method, we'll dispose of the VideoPlayerController to release any resources used by the controller when the widget is removed from the widget tree.
Here's how the code for this step looks like:
class VideoPlayerScreen extends StatefulWidget {
  const VideoPlayerScreen({Key? key}) : super(key: key);

  @override
  _VideoPlayerScreenState createState() => _VideoPlayerScreenState();
}

class _VideoPlayerScreenState extends State<VideoPlayerScreen> {
  late VideoPlayerController _controller;
  late Future<void> _initializeVideoPlayerFuture;

  @override
  void initState() {
    super.initState();
    _controller = VideoPlayerController.network(
      'https://flutter.github.io/assets-for-api-docs/assets/videos/butterfly.mp4',
    );
    _initializeVideoPlayerFuture = _controller.initialize();
  }

  @override
  void dispose() {
    _controller.dispose();
    super.dispose();
  }

  @override
  Widget build(BuildContext context) {
    // Build UI here
    return Container();
  }
}
Step-4: Now, display the video content using the VideoPlayer widget paired with an AspectRatio widget to maintain proper proportions. Use a FutureBuilder to show a loading spinner while waiting for the controller to finish initialization.
FutureBuilder(
 future: _initializeVideoPlayerFuture,
  builder: (context, snapshot) {
   if (snapshot.connectionState == ConnectionState.done) {
    return AspectRatio(
     aspectRatio: _controller.value.aspectRatio,
     child: VideoPlayer(_controller),
    );
   } else {
     return const Center(
      child: CircularProgressIndicator(),
      );
    }
  },
);
Implementing the Video Player
Step-1: Begin by initializing a `VideoPlayerController` with the URL or asset path of the video you want to display. Use the `VideoPlayer` widget to display the video content within your app.
Step-2: You need to ensure seamless user interaction by implementing play, pause, stop, and seek functionalities using methods provided by the `VideoPlayerController`.
You can enhance this functions by incorporating interactive controls such as `FloatingActionButton` or `IconButton` to manage video playback effortlessly:
- Start with setting up default video playback behavior: a video typically begins in a paused state when loaded.
- Then, use the play method provided by the `VideoPlayerController`, while the pause method is used to halt playback.
- Create a user-friendly play/pause control using a `FloatingActionButton` that toggles playback based on the current state. This ensures a seamless transition between playing and pausing, enhancing the user experience.
   FloatingActionButton(
     onPressed: () {
       setState(() {
         if (_controller.value.isPlaying) {
           _controller.pause();
         } else {
           _controller.play();
         }
       });
     },
     child: Icon(
       _controller.value.isPlaying ? Icons.pause : Icons.play_arrow,
     ),
   )
Step-3: We need to make sure the player is capable of handling different video formats and sources. Here are some tips to help you out:
- Make sure that the aspect ratio of your `VideoPlayer` matches that of your video content.
- Use a `FutureBuilder` to display loading indicators while your video content initializes.
- Prepare for any bumps implementing mechanisms to gracefully manage instances where video playback fails—whether due to network issues or unsupported formats. For this, you need to adjust the initialization process accordingly.
- For local video assets, specify the asset path when initializing the `VideoPlayerController`.
- For streaming URLs, use the `VideoPlayerController.network` constructor and provide the URL as the argument.
Customizing the Video Player UI
Flutter's VideoPlayerController offers more than just basic playback functions. You can use it to fine-tune various aspects of video playback:
- Volume Control: You can adjust the volume level using the setVolume method.
- Playback Speed: You can modify the playback speed using the setPlaybackSpeed method. Users can accelerate or decelerate video playback as well.
- Subtitles: You can use Flutter widgets like ‘Stack’ and ‘Positioned’ for displaying adding subtitles on your video content or overlaying them.
- Play Button: You can customize the play button's theme and functionality with Flutter widgets: IconButton or GestureDetector.
- Full-Screen Toggle: You can add a full-screen toggle button (using Flutter widgets like ‘IconButton’ and ‘GestureDetector’) to allow users to switch between full-screen and regular viewing modes.
- Seeking: You can enable users to jump to specific parts of the video using the ‘seekTo” method.
- Looping Videos: Enable video looping by setting controller.setLooping(true).
Whether you're building a video-heavy app or just looking to flair-up your videos, Flutter video player is your go-to tool for delivering top-notch user experiences.
Best Flutter Packages/Libraries for Video Playback
Banuba Video Editor SDK
The Banuba Video Editor package offers both video player and editor tools which makes it perfect for crafting short-form content for social platforms like TikTok. Plus, it seamlessly integrates with Banuba Face AR SDK for added AR features—offering a comprehensive solution for dynamic video experiences.
Video_player
For straightforward video playback needs, Video_player is a reliable choice. It's compatible across various platforms (iOS, Android, and Web platforms) and easy to integrate. However, it lacks advanced features beyond basic playback controls, so it is most ideal for simple video implementations.
Video viewer
As a simple open-source video player package for Flutter, Video_viewer offers a range of additional functionalities, including swift animations, HLS format support, video trimming features, all while offering complete customizability. It is minimalistic, developer-friendly, and easy to integrate—with an intuitive interface for end-users. However, it's worth noting that Video_viewer is not compatible withiOS emulators, which typically require additional testing efforts.
Native video view
This library leverages native players on iOS and Android for video playback, ensuring a seamless experience across platforms. It's lauded for its simplicity, thorough documentation, and user-friendly interface. However, like video_viewer, if you require advanced features, you may want to explore other libraries or SDKs better suited to your needs.
IQPlayer
IQPlayer is a free open-source Flutter library that lets you play videos and supports subtitles in the VTT format. You're free to tweak and use it however you like, thanks to its MIT license, which makes it a solid starting point for building your own video player or editor. However, it's a bit basic compared to other free options out there, so keep that in mind when considering it for your Flutter app.
Flutter Video Player: Best Practices & Troubleshooting Tips
When you're setting up video streaming in your Flutter app, it's important to ensure smooth playback and efficient resource usage, especially if you have a large user base or sizable video files. Here are the best practices for using Flutter video player:
- Go for formats like HLS (HTTP Live Streaming) or DASH (Dynamic Adaptive Streaming over HTTP) that support adaptive bitrate streaming. This way, the video quality adjusts based on your users' internet speed.
- If your videos come in different qualities, set up adaptive bitrate streaming. This lets the video quality change depending on your users' network conditions.
- Make sure you have the rights to stream content that is copyrighted. If needed, implement DRM to protect your content. Plugins like flutter_video_encrypt can help with encryption.
- Start loading the video a few seconds before playback begins to reduce buffering delays. Also, consider caching parts of the video as they stream to improve playback start times and save data.
- Make sure the video player package you pick supports your chosen streaming format. While video_player handles network videos, plugins like chewie or flutter_video_player might offer more features for streaming.
- Keep an eye on network changes and adjust the video quality accordingly. You might need to pause, buffer, or alert the user based on network conditions.
- Test your streaming setup on different devices and simulate various network conditions. This ensures your app delivers smooth video playback no matter where your users are.
Testing and Debugging your Flutter Video Player
Here are some common issues users can face:
- Long buffering times, disrupting your user experience
- Compatibility issues across devices
- High memory usage during playback
If you encounter such issues with video playback, you need to test and debug it.
Testing Video Playback
You can verify the functionality of your video-related widgets and classes by conducting unit tests in Flutter. This allows you to create test widgets, insert them into the widget tree, and simulate user interactions to ensure your video playback features work as intended.
Be sure to test all possible scenarios with your video player, including screen rotation changes and fluctuations in network connectivity.
Debugging Video Playback
The value property of the video_player plugin provides valuable information such as video duration, playback position, buffering status, and error descriptions, which can help you troubleshoot specific issues.
Conclusion
In conclusion, implementing the Flutter video player can be easily done with the above steps. You can also use Gumlet Video as your video hosting platform to seamlessly deliver videos. We’ve also explored the best flutter libraries that make this integration seamless. Remember to consider factors like ease of implementation, customization options, and community support as you choose your library. With the right tools in hand and the best practices we discussed, you’re well-equipped to create engaging and effective video experiences in your Flutter apps.
FAQs
- What is chewie in Flutter?
Chewie in Flutter is a versatile video player package. It simplifies video playback integration with customizable controls. With support for features like fullscreen mode, it enhances user experience. Built as a wrapper around video_player, Chewie ensures seamless integration for developers. - How do you play YouTube videos on Flutter?
You can play YouTube videos on Flutter using the official video_player package. Follow these steps:- Find the desired video on YouTube and copy its URL.
- Open the VLC media player and navigate to Media > Open Network Stream.
- Paste the YouTube link into the provided box and click Play.
- Access Codec Information under Tools, then right-click the Location text block to select and copy the local video file URL.
- How do you play a video from a URL on Flutter?
- Use the command flutter create video_player_example to generate a new Flutter project.
- In the pubspec.yaml file of your project, under the dependencies section, add the following lines:
dependencies:
flutter:
sdk: flutter
video_player: ^2.1.11 - Next, run ‘flutter pub get” in your terminal to install the package. Then, import the video_player package in your Dart file where you want to use it.
- Fourthly, the controller will be initialized, and the video will be displayed using a VideoPlayer widget.
- Finally, make sure you dispose of the controller when finished.
- What is the best video player in Flutter?
Banuba is one of the best video players in Flutter, offering both playback and editing capabilities in a single package. With features including video/audio recording, royalty-free music integration, and transition effects, Banuba Video Editor SDK ensures a comprehensive solution for Flutter developers.