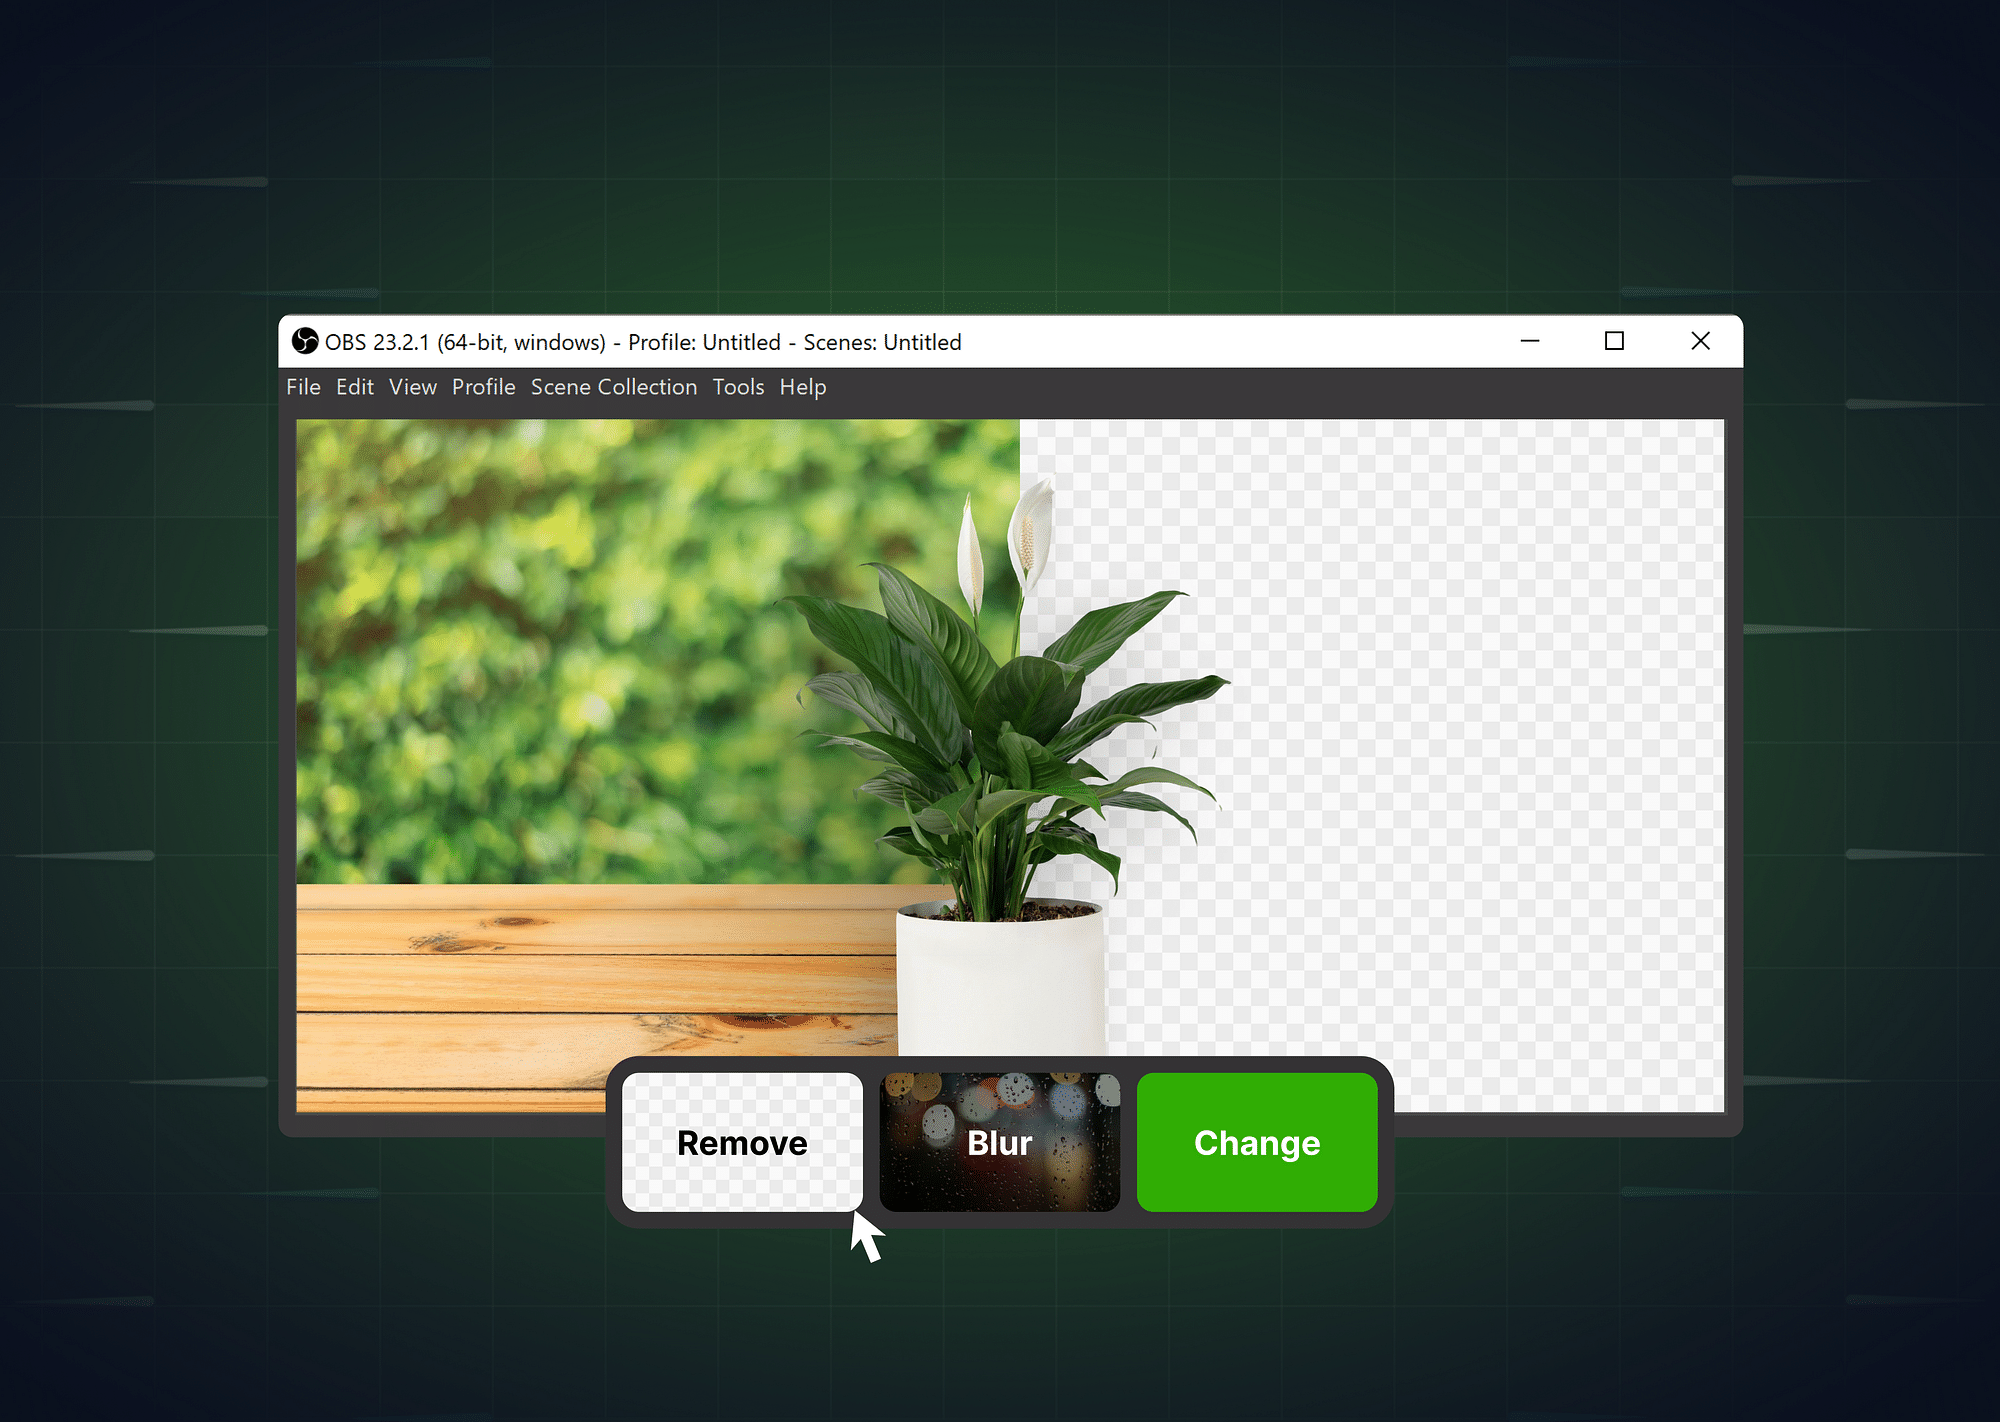
With OBS Studio, there are multiple ways to achieve this—ranging from green screens to OBS background removal plugins and software-based solutions. In this guide, we’ll explore these methods in detail. We’ll walk you through the steps for removing the background with a green screen for a clean, crisp result, as well as using OBS background removal without a green screen via powerful plugins. Along the way, we’ll share practical tips for optimal background removal and help you decide which approach suits your needs best.
How to Remove Background Using a Green Screen in OBS?
One of the most effective and reliable ways to achieve clean background removal is by using a green screen. Green screens help OBS differentiate the subject (you) from the background, ensuring a crisp, professional look. This technique is widely used by streamers, content creators, and video professionals because it provides superior precision compared to software-based solutions. With OBS’s Chroma Key filter, the green background can be removed smoothly, leaving you with a transparent or replaced background of your choice.
Step-by-Step Guide: Removing Background with a Green Screen
Here is an elaborate step-by-step guide to help you get up and running with removing the background screen in OBS with a green screen.
1. Set Up the Green Screen
- Position the green screen properly: Ensure that the screen covers the entire area behind you so no part of the original background peeks through.
- Remove wrinkles or creases: These can create shadows and inconsistencies, disrupting the chroma keying process. Using a stand or tension frame can help keep the screen taut.
- Ensure consistent lighting: Uneven lighting can cause dark spots or color variations that interfere with the Chroma Key filter. Use multiple lights if possible to illuminate both yourself and the green screen evenly, reducing shadows.
For the best help on this, check out our blog: How to use a Green Screen?
2. Open OBS Studio and Configure the Scene
- Add a new scene or use an existing one: Go to the Scenes panel in OBS and create a new scene if you don’t have one set up already.
- Add a video source: Click the + icon under the “Sources” panel and select your webcam or camera device.
- Access the Filters menu: Right-click your video source and select Filters to open the filters panel, where you will apply the background removal effect.
3. Add the Chroma Key Filter
- Click the + icon under Effect Filters: In the Filters menu, select Chroma Key from the list of available effects.
- Name your filter: You can give it a custom name (e.g., "Green Screen Removal") to help you manage filters easily.
- OBS will detect the green color by default: The software automatically applies a standard keying effect to remove the green background. If your background isn’t removed perfectly on the first try, don’t worry—you can fine-tune it in the next step.
4. Fine-Tune Chroma Key Settings
- Similarity: Adjust this slider to define how close the color must be to the green key color to be removed. Increasing the similarity removes more background, but setting it too high can affect parts of your clothes or face if they have green hues.
- Smoothness: Use this setting to soften the edges of your subject and reduce harsh lines that might appear around your figure. However, be cautious, as too much smoothness can blur your outline.
- Key Color Spill Reduction: This feature helps reduce green light reflections (spill) on your skin or clothing. If you notice a green tint around the edges, increase this setting to minimize it.
- Custom Key Color (Optional): If your green screen isn’t a perfect green, you can manually select the shade of green being used by clicking on the Key Color option.
5. Test the Output and Adjust Settings as Needed
- Check the live feed: Ensure that the background is removed cleanly and that no artifacts or shadows remain. Move around to verify that the Chroma Key filter consistently maintains transparency without cutting off parts of your image.
- Make further adjustments if needed: If you notice flickering or incomplete background removal, return to the Chroma Key settings and tweak the sliders until the results improve. Test under different lighting conditions to ensure consistency.
6. Save Your Settings
- Once you are satisfied with the results, click Close to apply the changes. OBS will save the configuration automatically, and your green screen background removal is now active for the selected scene.
Now, let’s take a step forward and understand how to remove OBS background using plugins, without using any green screen.
How to Remove OBS Background Using Plugins?
If you don't have a green screen or prefer a more straightforward software-based solution, OBS background removal plugins are an excellent alternative. These plugins allow you to remove the video background without a green screen, offering convenience and flexibility. They are particularly useful for users working with limited space or resources but still want to maintain a professional look in their video output.
Popular Plugins for Background Removal in OBS
Here are some of the popular plugins for background removal in OBS:
- Background Removal Plugin: This plugin utilizes machine learning algorithms to detect and separate the subject from the background. It analyzes the webcam feed and intelligently distinguishes between the foreground and background, providing effective webcam background removal.
- OBS VirtualCam Plugin: Originally designed to enable the use of OBS as a virtual camera, this plugin also supports virtual backgrounds and background removal during live streams or video meetings. It’s a versatile tool for enhancing your webcam feed in real time.
Step-by-Step Guide: Removing Background with Plugins
- Download and Install the Plugin:
- Visit the OBS forums, GitHub, or the plugin’s official page to find and download the latest versions of the OBS background removal plugin or OBS VirtualCam plugin.
- Follow the installation instructions provided by the plugin developer to integrate it with OBS. Typically, this involves extracting the files into the OBS plugins folder and restarting the software.
- Add and Configure the Plugin in OBS:
- Open OBS and select your webcam or video source from the Sources panel.
- Right-click the video source and choose Filters from the dropdown menu.
- In the Filters window, click the + icon under Effect Filters and select the installed plugin from the list (e.g., Background Removal Plugin or VirtualCam Plugin).
- Tweak Plugin Settings for Optimal Performance:
- Adjust settings such as blur level, subject separation, and detection threshold to fine-tune the background removal effect.
- Use the background separation feature to increase or decrease the sensitivity of the plugin in identifying your silhouette.
- If using the VirtualCam plugin, explore virtual background options to enhance your feed with custom images or videos.
- Test and Adjust for Best Results:
- Monitor the output to ensure the webcam background removal looks smooth and natural. Move around in front of the camera to see if the plugin consistently tracks your movements.
- Look for common issues like blurry edges or flickering, which can occur if the plugin struggles to differentiate between similar colors in the background and your clothes. Adjust the plugin settings to minimize these artifacts.
- If the video output appears grainy or laggy, consider lowering the webcam resolution or adjusting the OBS video settings to optimize performance.
Using OBS background removal without a green screen offers a quick and efficient way to enhance your video content. While software-based solutions might not be as precise as a green screen setup, they provide excellent results with minimal effort. These plugins are ideal for live streamers, remote workers, and content creators looking to improve their video presence without investing in additional equipment.
Green Screen vs. No Green Screen: Which Is the Best Method?
When deciding between using a green screen or software-based background removal, it’s essential to assess your requirements, available resources, and setup. Both approaches have distinct advantages, and the right choice depends on factors such as the type of content you’re creating, your workspace, and your system's capabilities. Below, we break down the pros and cons of each method to help you make an informed decision.
Green Screen
Using a green screen remains the gold standard for achieving precise and high-quality background removal. It allows OBS to easily detect the uniform green background, ensuring that the subject is cleanly separated from the background. This method is ideal for those who require professional-looking content and have the space and equipment to support it.
Pros:
- Clean and precise background removal: A properly lit green screen provides sharp edges and minimal artifacts, ensuring the highest level of precision for background removal.
- Less reliance on software: Since the green screen offers a physical solution, it reduces the pressure on your system's resources, leading to smoother video output without lag.
- Ideal for high-quality production: Green screens are widely used in professional content creation, such as YouTube videos, live broadcasts, and webinars, where polished visuals are essential.
Cons:
- Requires proper setup and lighting: Achieving a seamless green screen effect demands consistent lighting to avoid shadows, wrinkles, or uneven color, which could interfere with the Chroma Key filter.
- Takes up physical space: Green screens require dedicated space in your room or studio. If you're working in a small environment, it may be challenging to set up and maintain.
No Green Screen (Using Plugins)
For users who don’t have the space or equipment for a green screen, OBS background removal plugins provide a practical and accessible solution. These plugins leverage software algorithms and machine learning to detect and separate the subject from the background in real-time. This method is especially useful for streamers or remote workers who need quick background removal without investing in additional hardware.
Pros:
- Convenient and quick setup: Plugins require minimal setup—simply download, install, and configure the settings in OBS. This is ideal for users who need a fast solution.
- No need for additional equipment: Unlike green screens, software-based background removal doesn’t require any physical tools or space. This makes it perfect for those working from small apartments or temporary setups.
- Great for users on the go: If you're frequently on the move or working from different locations, the flexibility of software-based solutions ensures that you can maintain a professional appearance without lugging around extra equipment.
Cons:
- May struggle with complex backgrounds: Software-based background removal can have difficulty distinguishing between the subject and a cluttered or visually complex background, leading to imperfect results.
- Heavier on system resources: Running background removal plugins in real-time can consume a significant amount of CPU and GPU resources, potentially affecting video performance or causing background noise removal issues during live streams.
- Minor artifacts may appear: Plugins might leave blurry edges, flickering, or artifacts around the subject, requiring continuous tweaking to achieve acceptable results.
Which Method Is More Suitable?
The choice between a green screen and no green screen method largely depends on your priorities and constraints:
- If precision and quality are top priorities, and you have the necessary space and lighting, a green screen is the better option. It delivers professional results and reduces reliance on system resources, making it ideal for content creators focused on high-quality production.
- If you need flexibility or are working with limited resources, OBS background removal without a green screen using plugins is the way to go. This approach is perfect for streamers, remote workers, or users who need a quick, low-cost setup without compromising too much on quality.
Keeping all of the discussion so far in mind, green screens offer the best precision for professional content, but software-based solutions with plugins provide unmatched convenience!
Tips for Effective Background Removal in OBS
Achieving smooth and professional background removal in OBS requires more than just using the right tools. To optimize your setup and avoid common issues, you need to pay attention to lighting, webcam positioning, and OBS configuration. Here are some essential tips and best practices to help you achieve high-quality background removal, whether you’re using a green screen or OBS background removal plugins.
Lighting Tips
Lighting is critical for effective background removal, especially when using a green screen. Poor lighting can create shadows and uneven colors, leading to artifacts in the removal process.
- Use even lighting across the background
- Invest in a ring light or softbox lights
- Position your lights strategically
Webcam Positioning
Proper webcam placement is essential to minimize shadows and enhance the background removal effect. A well-positioned camera ensures your video looks natural and professional.
- Keep your webcam at eye level
- Maintain some distance between the webcam and the background
- Ensure a clutter-free background
OBS Settings for Smoother Video Output
Adjusting your OBS settings can significantly improve the performance and quality of your background removal. A well-configured OBS setup minimizes lag, flickering, and other artifacts during live streaming or recording.
- Increase the video bitrate
- Optimize resolution settings
- Enable OBS background noise removal
Troubleshooting Common Issues
Despite following best practices, you may occasionally encounter challenges with background removal in OBS. Here are some solutions to common problems:
- Flickering background removal:
- Adjust the Chroma Key similarity settings to better match the green screen color. If flickering persists, recheck your lighting setup to eliminate shadows and uneven lighting.
- Incomplete background removal:
- Ensure there are no reflective objects (like mirrors or glass surfaces) in the frame, as they can interfere with background detection. Additionally, check that your green screen is taut and wrinkle-free.
- Background noise during recording:
- Use the OBS background noise removal filter to reduce unwanted sounds from your environment, such as fan noise or keyboard clicks. Position your microphone away from noisy equipment for clearer audio.
- Blurred or inaccurate background removal (without green screen):
- If using plugins, increase the sensitivity settings to improve the plugin’s ability to detect your outline. Make small adjustments until the edges around your subject appear smooth and well-defined.
- Close unnecessary programs to reduce strain on your CPU and GPU, ensuring the plugin functions efficiently.
Following these tips can help you significantly enhance the quality of your background removal, whether you’re using a green screen or OBS background removal plugins. A combination of proper lighting, webcam positioning, and OBS settings will help you achieve smooth, professional-looking videos with minimal artifacts. Take time to test your setup and make adjustments as needed to ensure your content always looks its best.
Concluding Remarks
The ability to control and refine your background allows you to create polished content, whether you’re live streaming, recording a YouTube video, or attending virtual meetings. If you’re aiming for high-end production, a green screen might be your best bet. On the other hand, if you need a quick, no-hassle solution, the OBS background removal plugin can get the job done efficiently.
Don’t hesitate to test different lighting configurations, adjust OBS settings, and troubleshoot any issues that arise along the way. Background removal isn’t just about aesthetics—it’s about keeping the focus on you and your message, free from distractions.
FAQs
1. What is the best plugin for background removal in OBS?
The Background Removal Plugin is one of the best, offering excellent results by using machine learning to detect and remove backgrounds.
2. Can I use OBS for webcam background removal during live streaming?
Yes, OBS allows webcam background removal during live streaming using plugins like the VirtualCam Plugin or the Background Removal Plugin.
3. How do I fade the background in OBS?
You can add a Color Correction filter to your video source and adjust the opacity to fade the background.
4. How do I edit the background in OBS?
Use the Image or Media Source feature in OBS to replace or edit your background. You can also apply filters for blurring or color correction effects.


