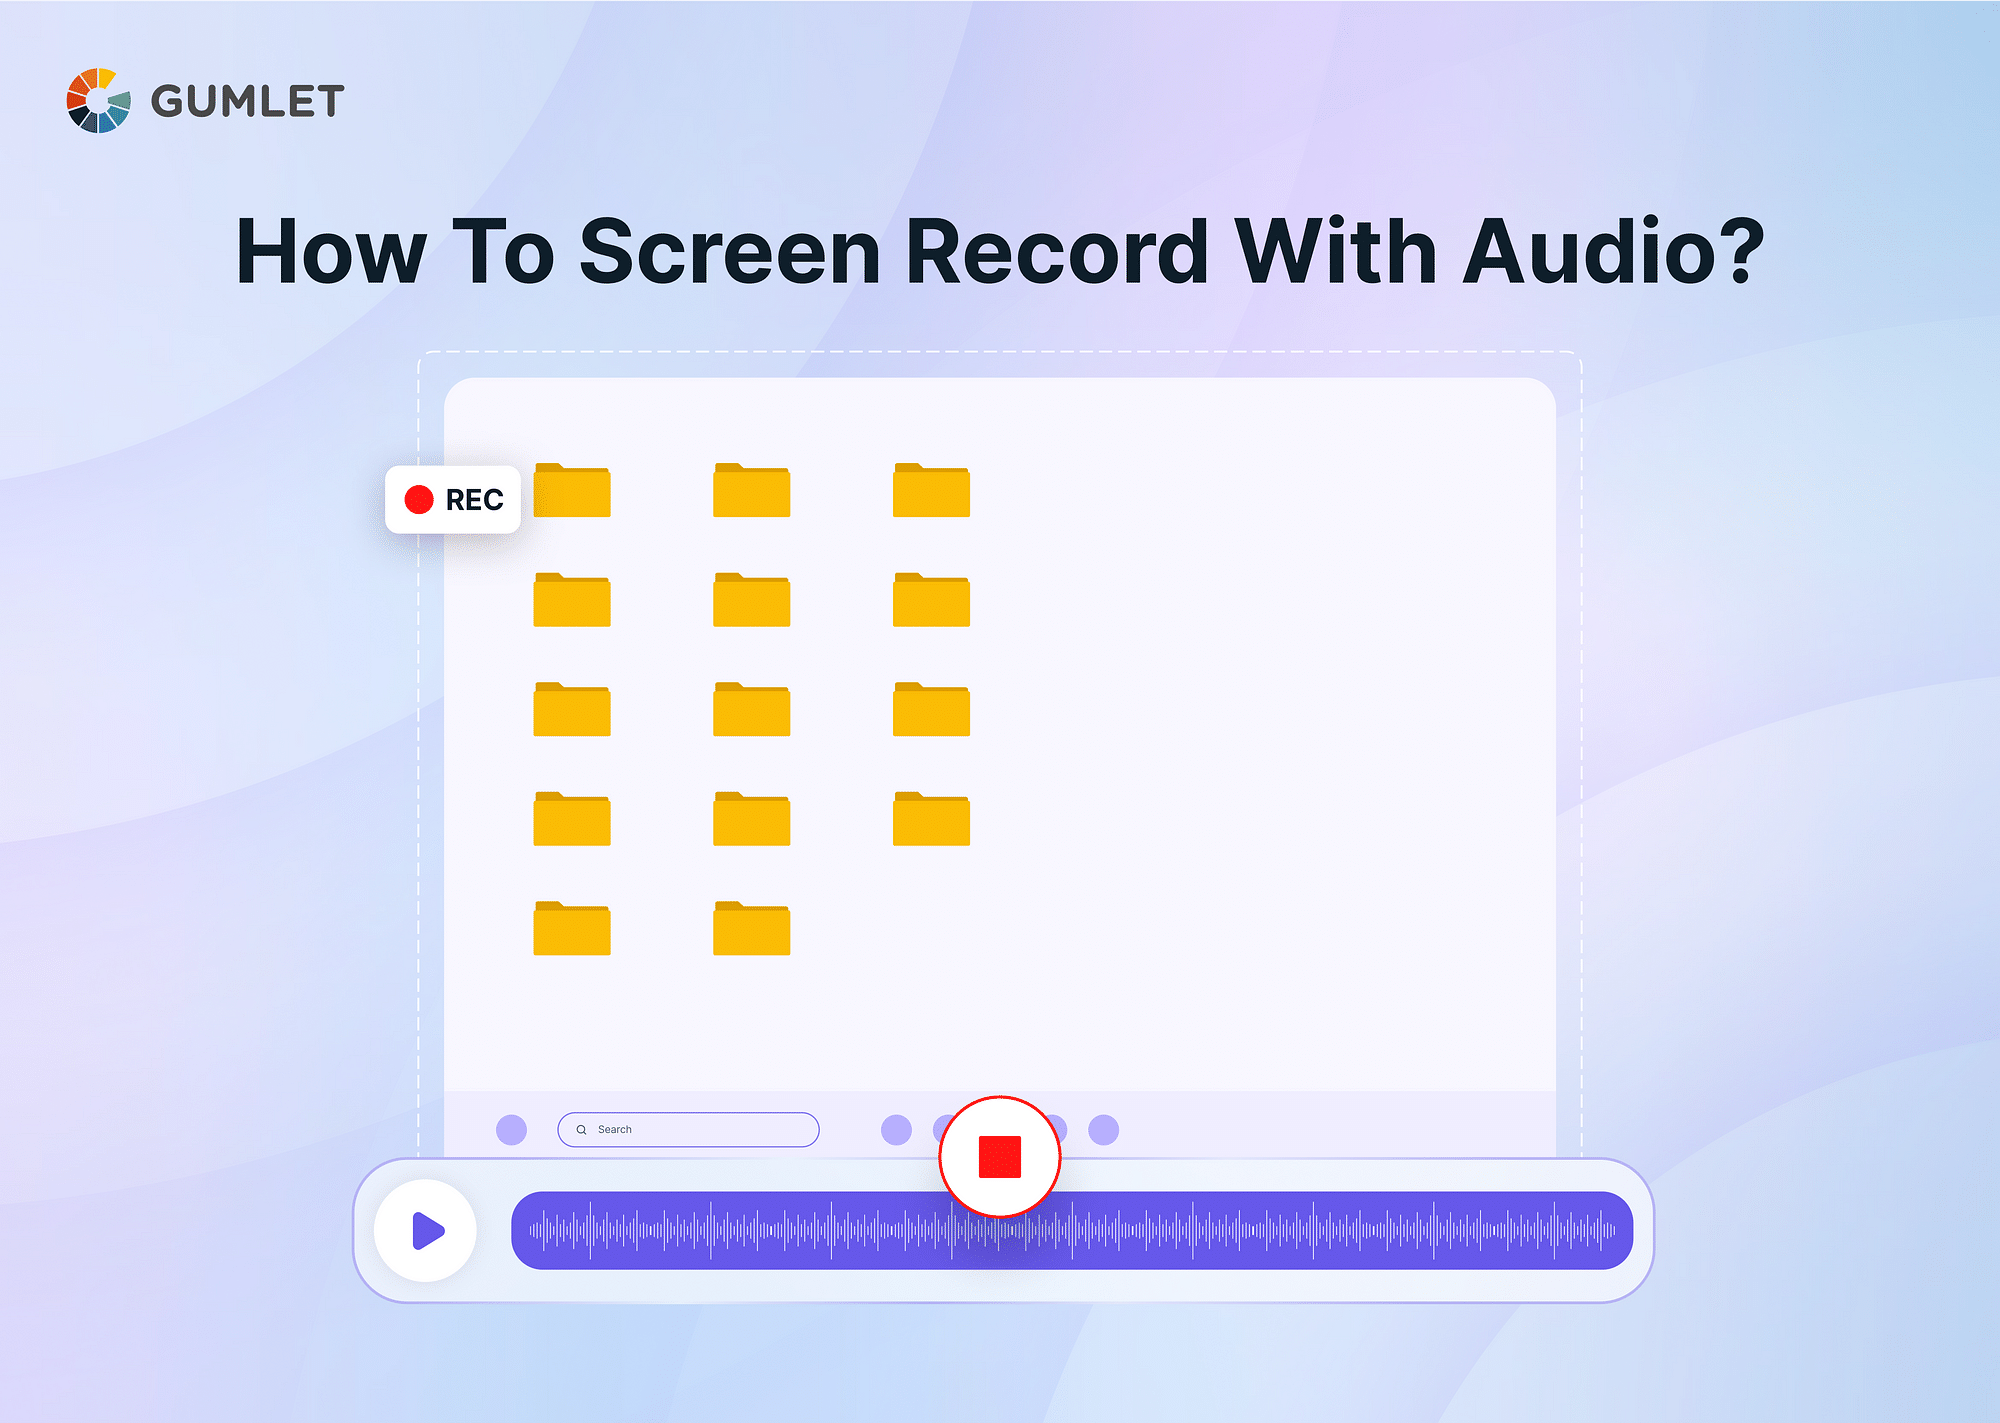
In today's digital age, screen recording with audio has become an essential tool for a multitude of professionals and personal users alike. Whether you're looking to create an instructional video or simply capture a memorable moment on your device, this guide will help you navigate the process smoothly.
Why recording screens with audio is beneficial?
Combining visual elements with clear audio creates an impactful medium that caters to various needs and industries. Let’s delve into the numerous advantages and notable use cases:
- Comprehensive Learning Experience: A visual walkthrough accompanied by audio explanations can help convey intricate processes or concepts more effectively than text or visuals alone.
- Engagement and Retention: Audio-visual content tends to be more engaging and aids in better retention of information compared to other mediums.
- Personalized Touch: Voiceovers or spoken instructions can add a personal touch to the content, making it more relatable and authentic.
Notable Use Cases for Screen Recording with Audio:
- Employee Training Videos: Companies can create modules where they walk employees through software, company protocols, or other task-specific duties. The combination of seeing the task while hearing explanations can expedite the learning process.
- How-to Videos and Software Tutorials: For software companies or tech bloggers, screen recording is invaluable. It allows for a step-by-step walk-through of a program or process, making it easier for viewers to understand and replicate.
- Educational Webinars and Lectures: Educators can record lessons, complete with annotations and verbal explanations, giving students a resource they can return to for revision.
- Gaming Tutorials: Gamers can showcase their strategies, walkthroughs of levels, or reviews of games, offering commentary on their decisions and actions.
How to Screen Record with Audio? A Step-by-Step Guide
The process of screen recording with audio can vary based on the device and software you're using. However, the fundamental steps often remain consistent. In this section, we will offer a more detailed overview of screen recording on Mac, Windows, Android, and iPhone, along with steps for some of the top software tools for each platform.
Best Screen Recording Software On Mac/Windows
Camtasia
Steps to Use Screen Recording on Camtasia:
- Click on the "Record" button to begin capturing your screen.
- A toolbar will appear with options to choose the screen area, audio settings, and webcam settings.
- Select your audio source (usually “System Audio” for screen recordings with audio).
- Begin your recording. Once finished, click the "Stop" button.
- The recording will open in Camtasia’s editor for any editing or enhancements you wish to make.
- Export your video in your preferred format.
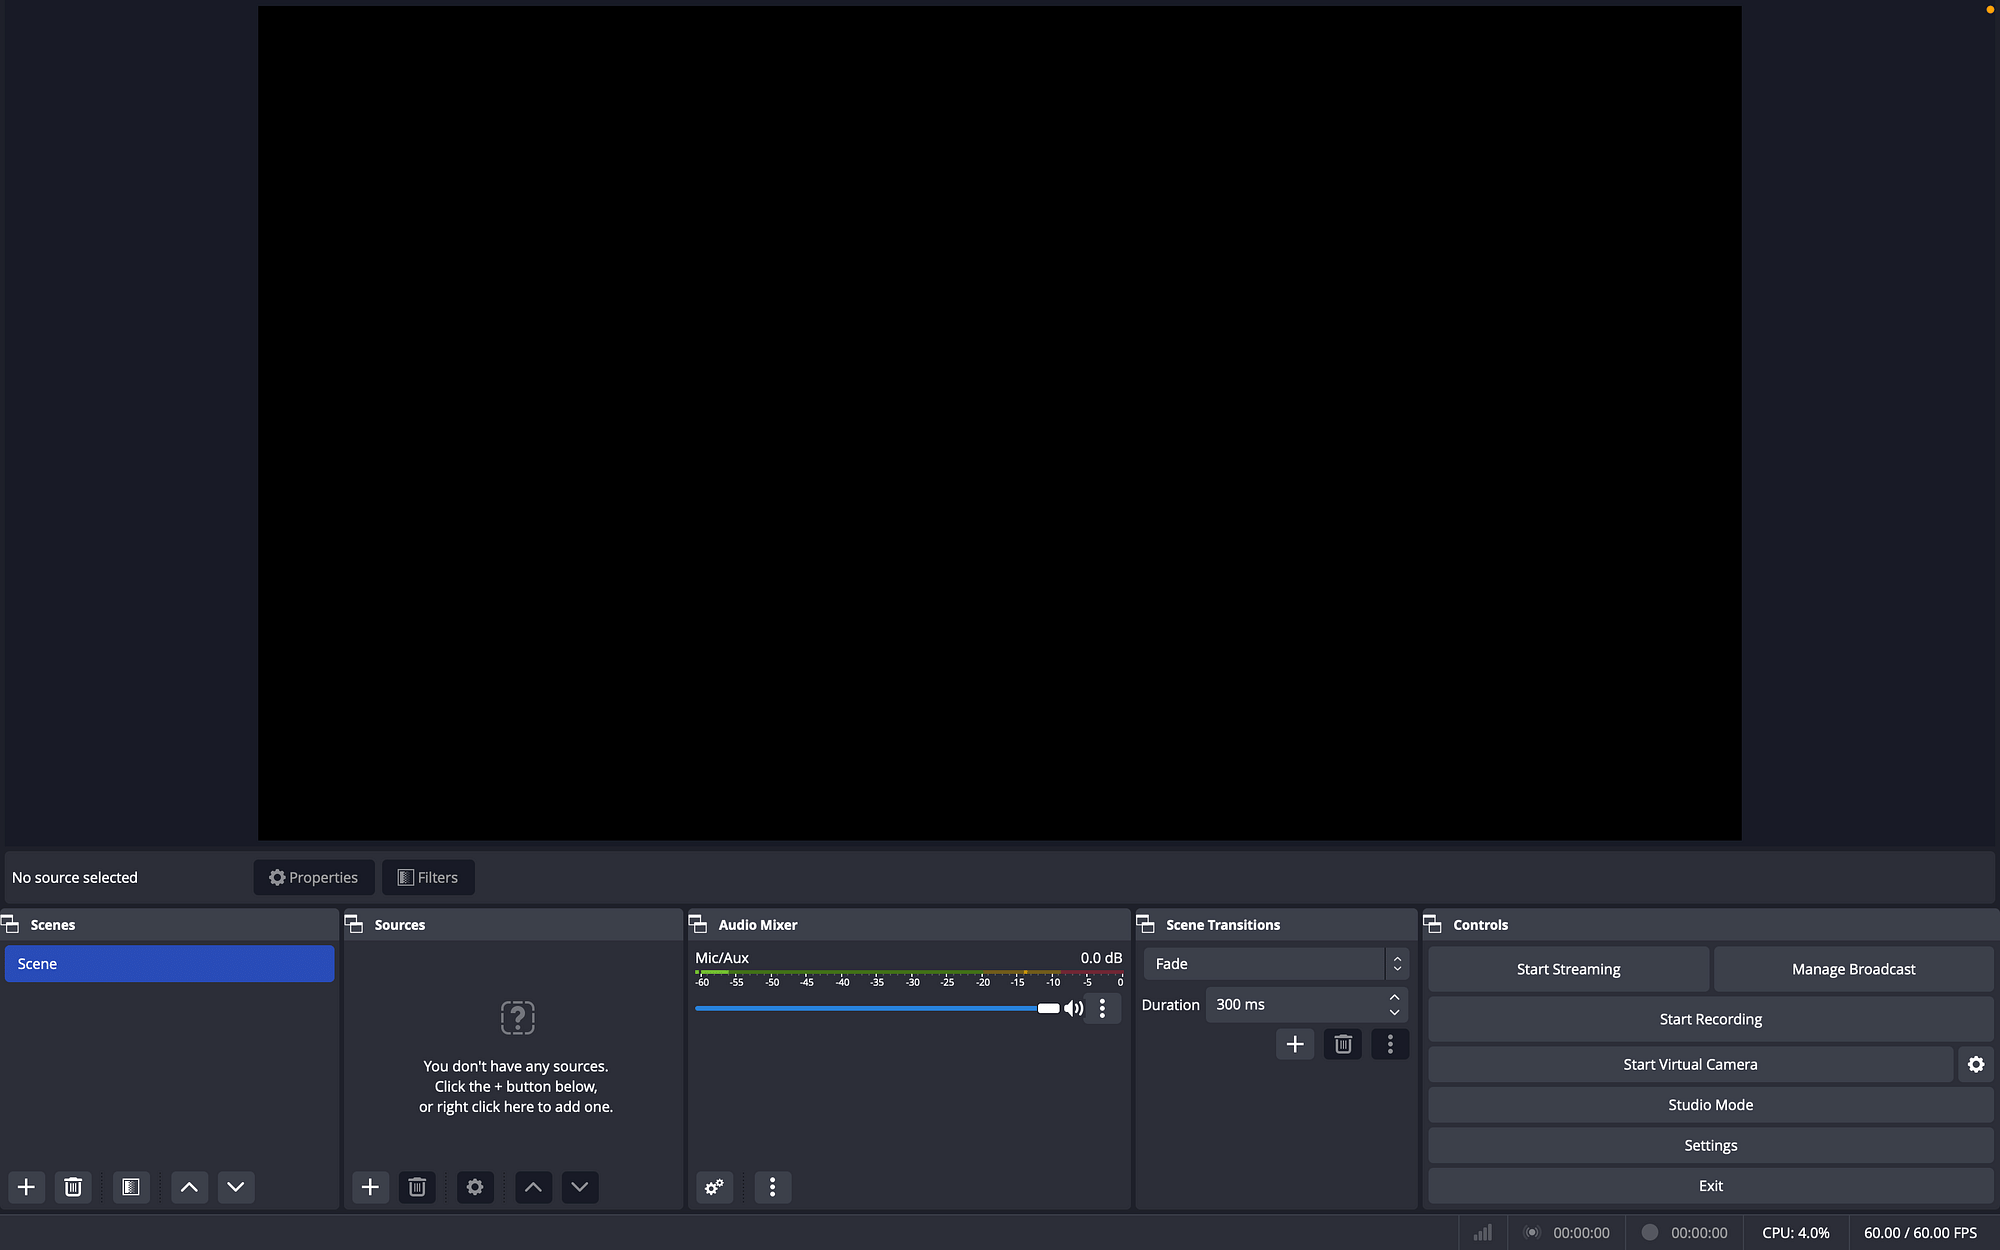
- OBS Studio:
Steps to Use Screen Recording on OBS Studio:
- Under 'Sources,' click the '+' button to add your display capture and audio input capture.
- Adjust your screen and audio settings as needed.
- Click the "Start Recording" button.
- When finished, click "Stop Recording."
- Access your recording in the default save location or the location you specified in the settings.
Best Screen Recording Software On Android/iPhone:
- AZ Screen Recorder (Android):
Steps to Use Screen Recording on AZ Screen Recorder:
- Download and install the app from the Google Play Store.
- Open the app. A floating toolbar will appear.
- Tap the gear icon for settings. Ensure audio recording is enabled.
- Tap the camera icon to start recording. Grant any permissions if prompted.
- Use your device as required. When done, pull down the notification shade and tap 'Stop'.
- Your recording will be saved in your gallery or the location specified in the app's settings.
- TechSmith Capture (iPhone):
Steps to Use Screen Recording on TechSmith Capture:
- Download and install TechSmith Capture from the App Store.
- Open the app and sign in or create a TechSmith account.
- Tap the red recording button.
- Choose your recording settings, ensuring microphone audio is turned on.
- Use your iPhone as needed. When finished, open TechSmith Capture and tap the '' button.
- Review your recording within the app, then save or share as desired.
How to stream screen-recorded videos?
Streaming screen-recorded videos is a dynamic way to share content in real-time or on-demand with a broader audience. Whether for tutorials, webinars, or presentations, ensuring a seamless streaming experience is essential for audience engagement and content delivery.
Gumlet's video hosting platform stands out in providing such a seamless experience. Let's explore how Gumlet can be your ultimate partner for streaming screen-recorded content.
Buffer-Free Streaming with Gumlet
Buffering is one of the biggest concerns for any video creator when streaming videos. Buffering can break the flow of content and cause a significant disruption for viewers.
Gumlet uses adaptive bitrate streaming to optimize video streams in real-time. Based on the viewer’s device, bandwidth, and other factors, Gumlet delivers the most suitable video quality. This dynamic adjustment ensures minimal buffering and a smooth streaming experience.
Protecting Videos from Illicit Use
Your content is valuable, and its protection should be paramount. Gumlet offers various features to help protect your screen-recorded videos:
- Video Protection features: Gumlet provides video DRM, password-protected videos, dynamic watermarking, and signed URLs to safeguard your videos from Illicit Use.
- URL Tokenization: This ensures that video content can only be played from your application or website, preventing hotlinking or unauthorized sharing.
- Geo & IP Restrictions: You can specify which regions or IP addresses are allowed to view your content, adding another layer of security.
Deep Analytics and Insights:
Understanding your audience's behavior and how they interact with your videos is crucial for improving content and engagement.
Gumlet provides comprehensive analytics, giving insights into:
- Viewer Behavior: See which parts of your videos are most watched, where viewers drop off, or areas that are replayed.
- Device and Platform Breakdown: Understand what devices or platforms your viewers are using. This can be beneficial for optimizing future content.
- Bandwidth and Quality Metrics: Analyze the average streaming quality and any buffering issues, allowing you to adjust accordingly for a better user experience.
- Engagement Metrics: Measure likes, shares, comments, and overall viewer engagement to gauge the effectiveness of your content.
How to fix “screen recording not working”?
Let’s delve into common issues faced by Mac and Windows users, pinpointing potential causes and providing solutions.
On Mac:
Often, Mac users encounter screen recording hiccups due to various reasons ranging from software glitches to permission restrictions.
Causes and Solutions:
- Permission Settings: macOS has strict privacy and security measures, and sometimes applications don’t have the necessary permissions to record the screen. Solution: Navigate to System Preferences > Security & Privacy > Screen Recording. Check if the software you're using is listed and has permission. If not, grant it.
- Insufficient Storage: Your Mac might not have enough storage to save the recording, causing the process to halt midway. Solution: Check your storage availability via About This Mac > Storage. Free up space by deleting unnecessary files or using storage management tools.
- Software Conflicts: Sometimes, other running applications can interfere with the screen recording tool. Solution: Try closing other applications while recording or restarting your Mac to clear any software conflicts.
On Windows:
Windows users aren't exempt from screen recording troubles. The issues can arise due to system limitations, software incompatibility, or other underlying factors.
Causes and Solutions:
- Disabled Screen Recording Feature: Windows has a built-in screen recording feature through the Xbox Game Bar, which might be disabled. Solution: Navigate to Windows Settings > Gaming > Game Bar. Here, ensure the switch for "Record game clips, screenshots, and broadcast using Game Bar" is toggled on.
- Outdated Graphics Drivers: Outdated or corrupted graphics drivers can hinder the screen recording process. Solution: Check for driver updates via Device Manager > Display Adapters. Right-click on your graphics card and choose 'Update Driver'. Follow the on-screen prompts.
- Software Compatibility: The screen recording software you're using might not be compatible with your Windows version or might need an update. Solution: Ensure your software is updated to the latest version. If the problem persists, consider switching to a different, more compatible screen recording tool.
How do I protect my videos from being screen-recorded?
In our digitally integrated world, video creators face a daunting challenge: protecting their work from unauthorized use. Imagine pouring hours into creating a video, only to find it ripped, screen-recorded, and reuploaded elsewhere without your consent. This illicit redistribution undermines the content creator's efforts and can result in financial losses and diminished brand value. So, how can one ensure their content remains safeguarded?
Pain Point: The ease with which videos can be screen-recorded and redistributed threatens the intellectual property of content creators. In addition to lost revenues, there's the risk of diluting brand exclusivity and value.
Solution: Integrating Digital Rights Management (DRM) and Dynamic Watermarking can be a game-changer in the fight against unauthorized video use.
- Digital Rights Management (DRM): DRM is a systematic approach to copyright protection for digital media. It restricts unauthorized redistribution of your content by binding access to it with specific conditions, making it almost impossible for unauthorized users to play, copy, or share.
- Dynamic Watermarking: Instead of the traditional static watermark that might be easily removed, dynamic watermarking continuously alters the watermark during playback, making it extremely challenging to remove without degrading video quality. The watermark often includes viewer-specific identifiers, so if the content is illicitly shared, it can be traced back to the original viewer.
How to Achieve Video Protection with Gumlet?
Gumlet emerges as a forerunner in the realm of content protection. Recognizing the modern-day challenges faced by content creators, Gumlet provides robust solutions:
- Intuitive DRM Integration: Gumlet's platform easily integrates with leading DRM providers, ensuring your videos are encapsulated in a secure environment. Once integrated, your content is encrypted; only authorized users with the right decryption key can view it.
- Advanced Dynamic Watermarking: With Gumlet, you can effortlessly overlay dynamic watermarks on your videos. These watermarks are not just visual deterrents; they carry viewer-specific information and deter unauthorized sharing.
- Analytics and Monitoring: Beyond video protection, Gumlet offers deep analytics to monitor the behavior and distribution of your content. Any irregularities or suspicious activities can be promptly detected, allowing quick corrective action.
Conclusion
Screen recording with audio is more than just capturing content; it's about communicating effectively, sharing knowledge, and ensuring that your intellectual property remains safeguarded. Whether you're a seasoned professional or a beginner, utilizing tools like Gumlet can elevate your content delivery and protection to unparalleled heights.
FAQs
Why is my screen recording not capturing audio?
Check software permissions, ensure audio settings are on, and see if another app uses the audio source.
How does DRM protection work for videos?
DRM encrypts videos. To play them, a player verifies user rights with a DRM server. If authorized, the server provides a decryption key.
Can dynamic watermarks be removed from videos?
Dynamic watermarks change continuously, making removal difficult without degrading video quality.
What's the difference between streaming and simply uploading a video online?
Streaming plays videos in real-time without downloading, while uploading stores videos on a server for direct view or download.
Why is my streamed video lagging or buffering?
Possible reasons include bandwidth limitations, server overload, or high video quality. Consider reducing video quality or using optimized streaming platforms.

